The PiThermostat takes a look at how the HVAC system works in a home. With the over abundance of IoT thermostats, its hard to find one that has ALL the features. The Nest and Ecobee are both great contenders. If there were a product that had everything from each product combined, I think I would buy that. Until then, the PiThermostat…
PiThermostat Interface:
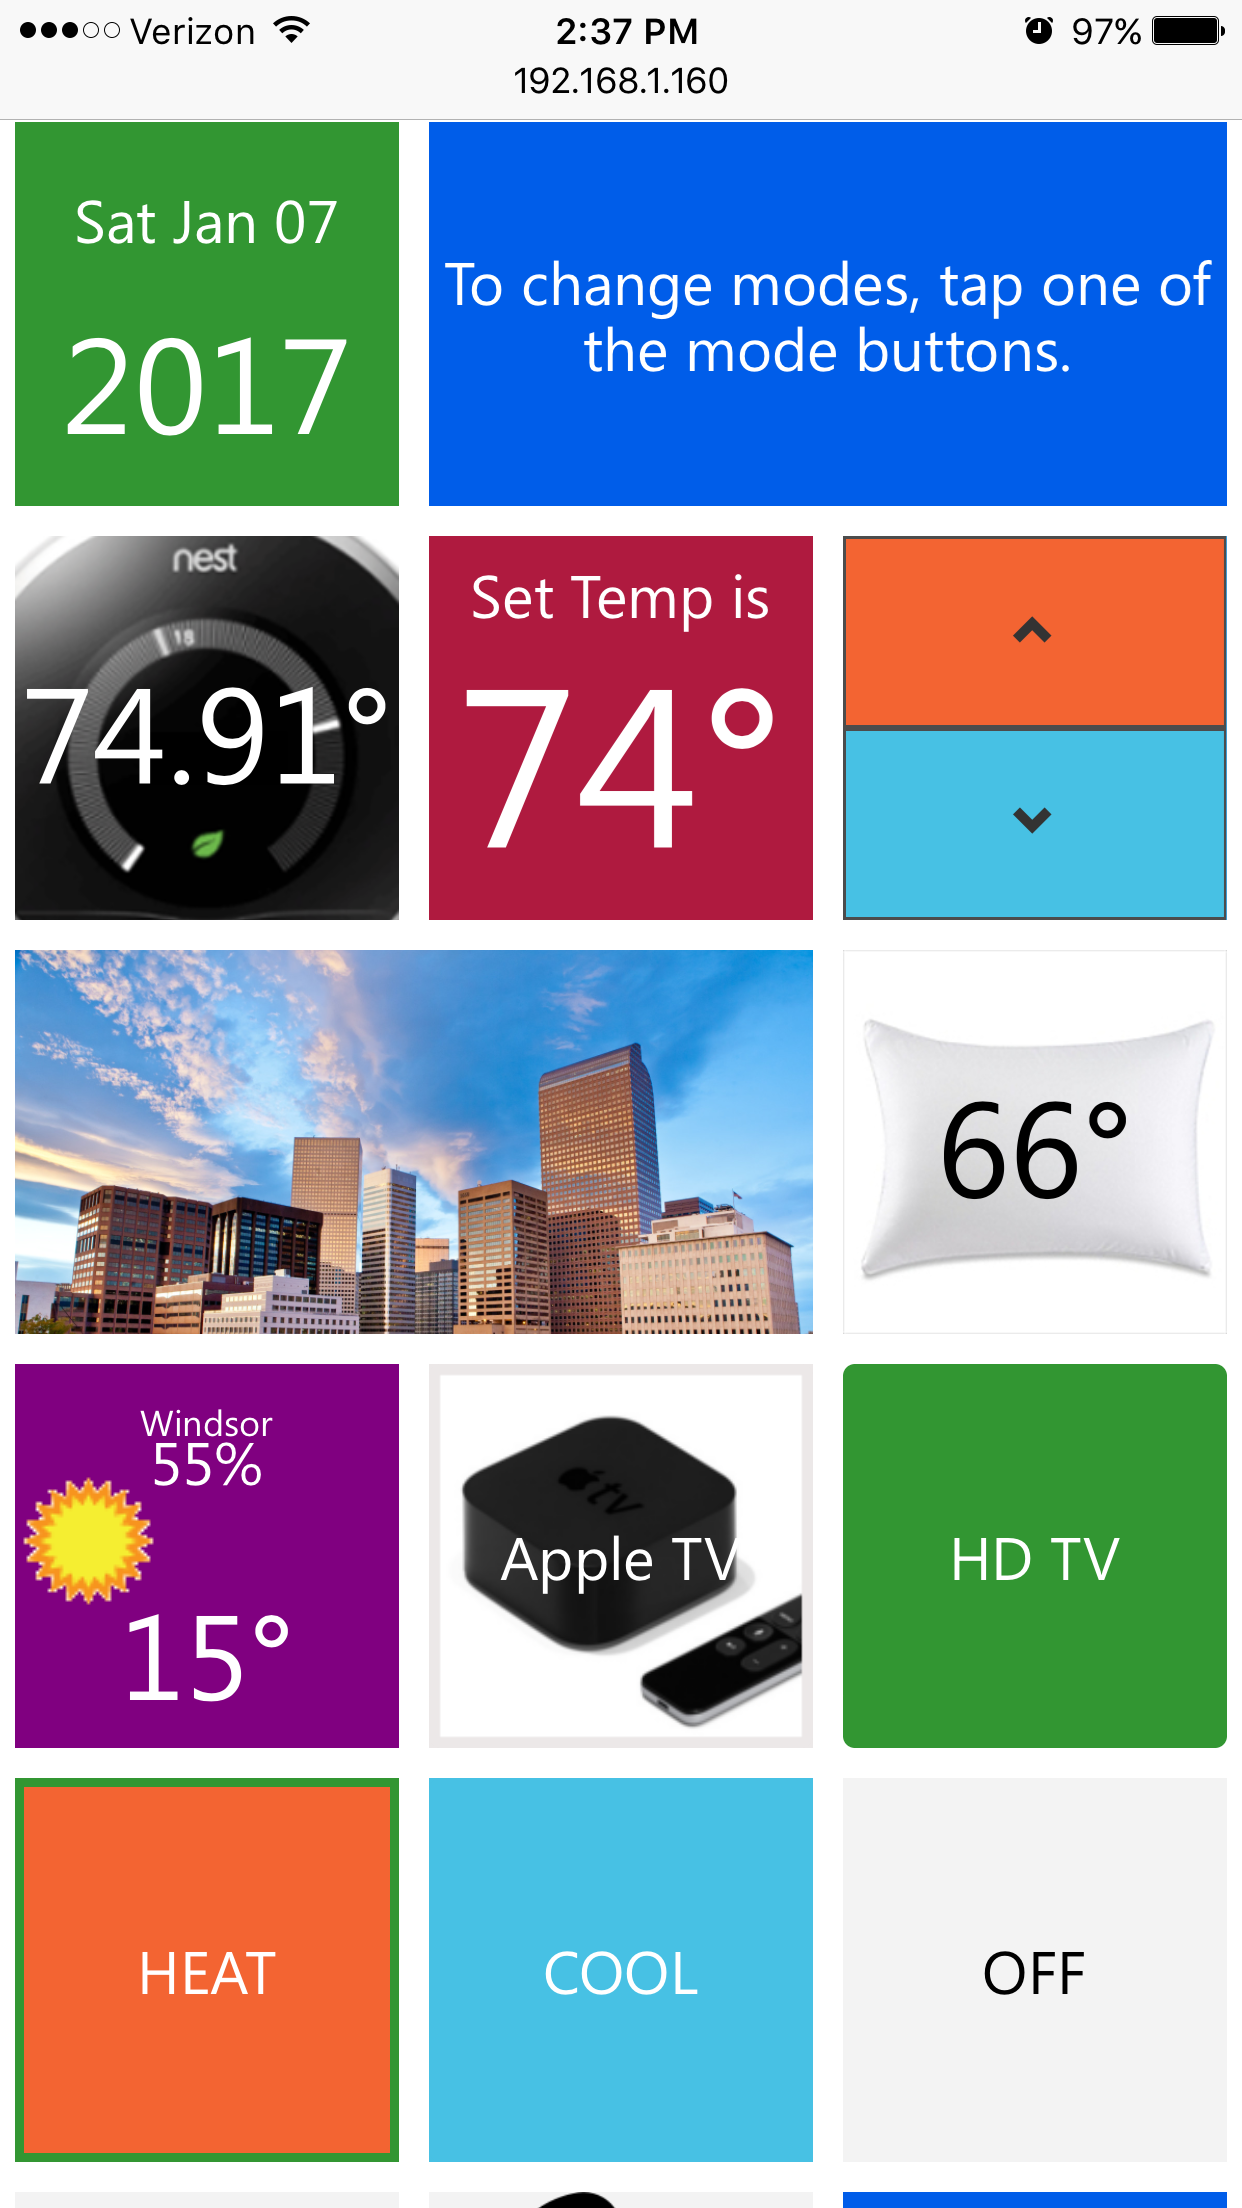
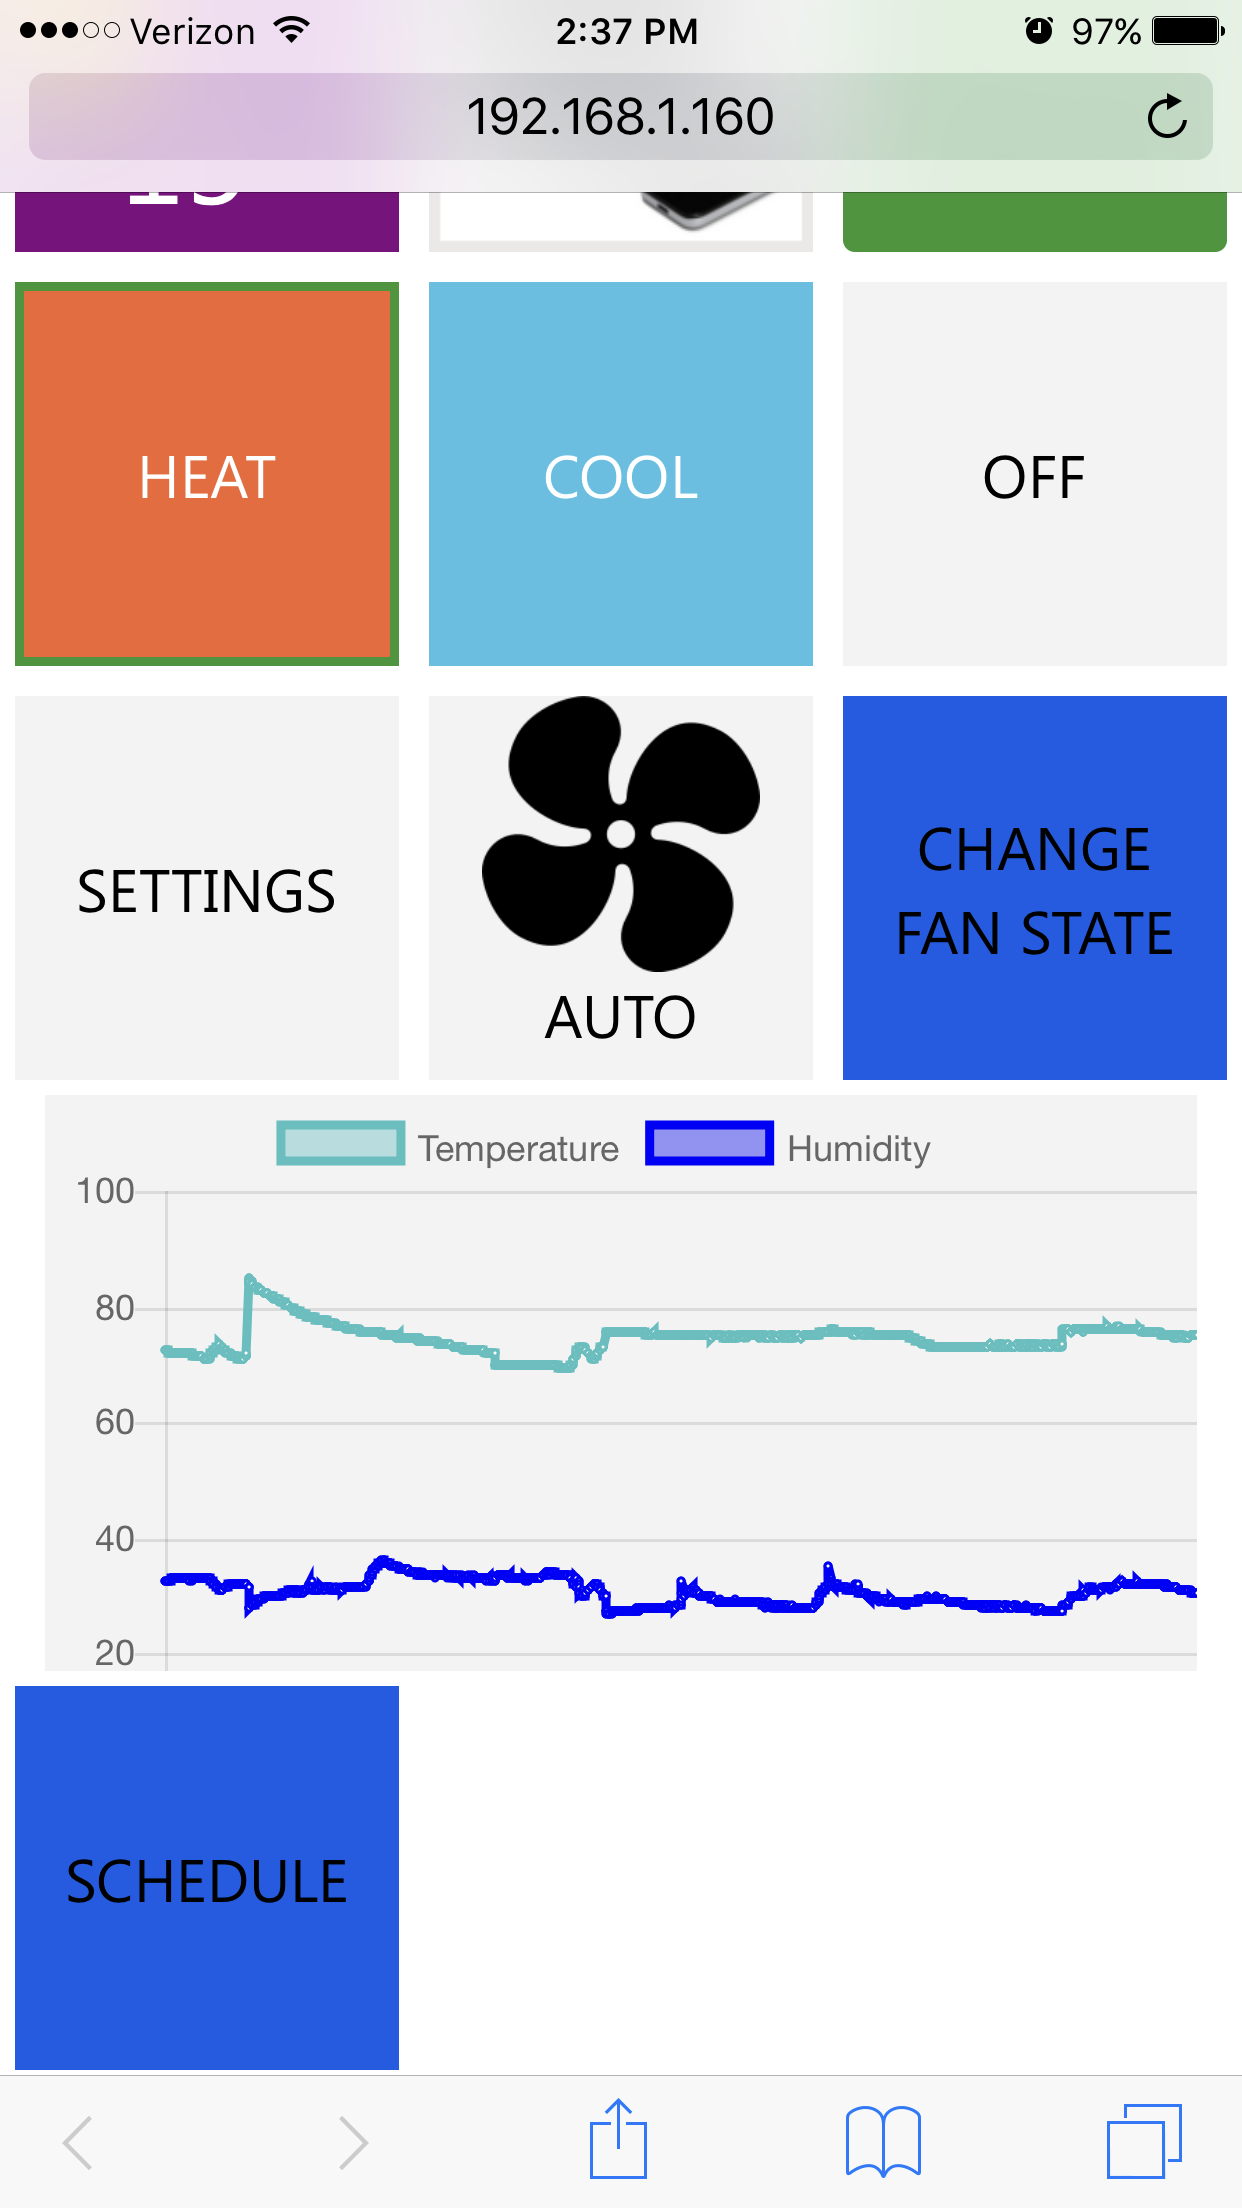
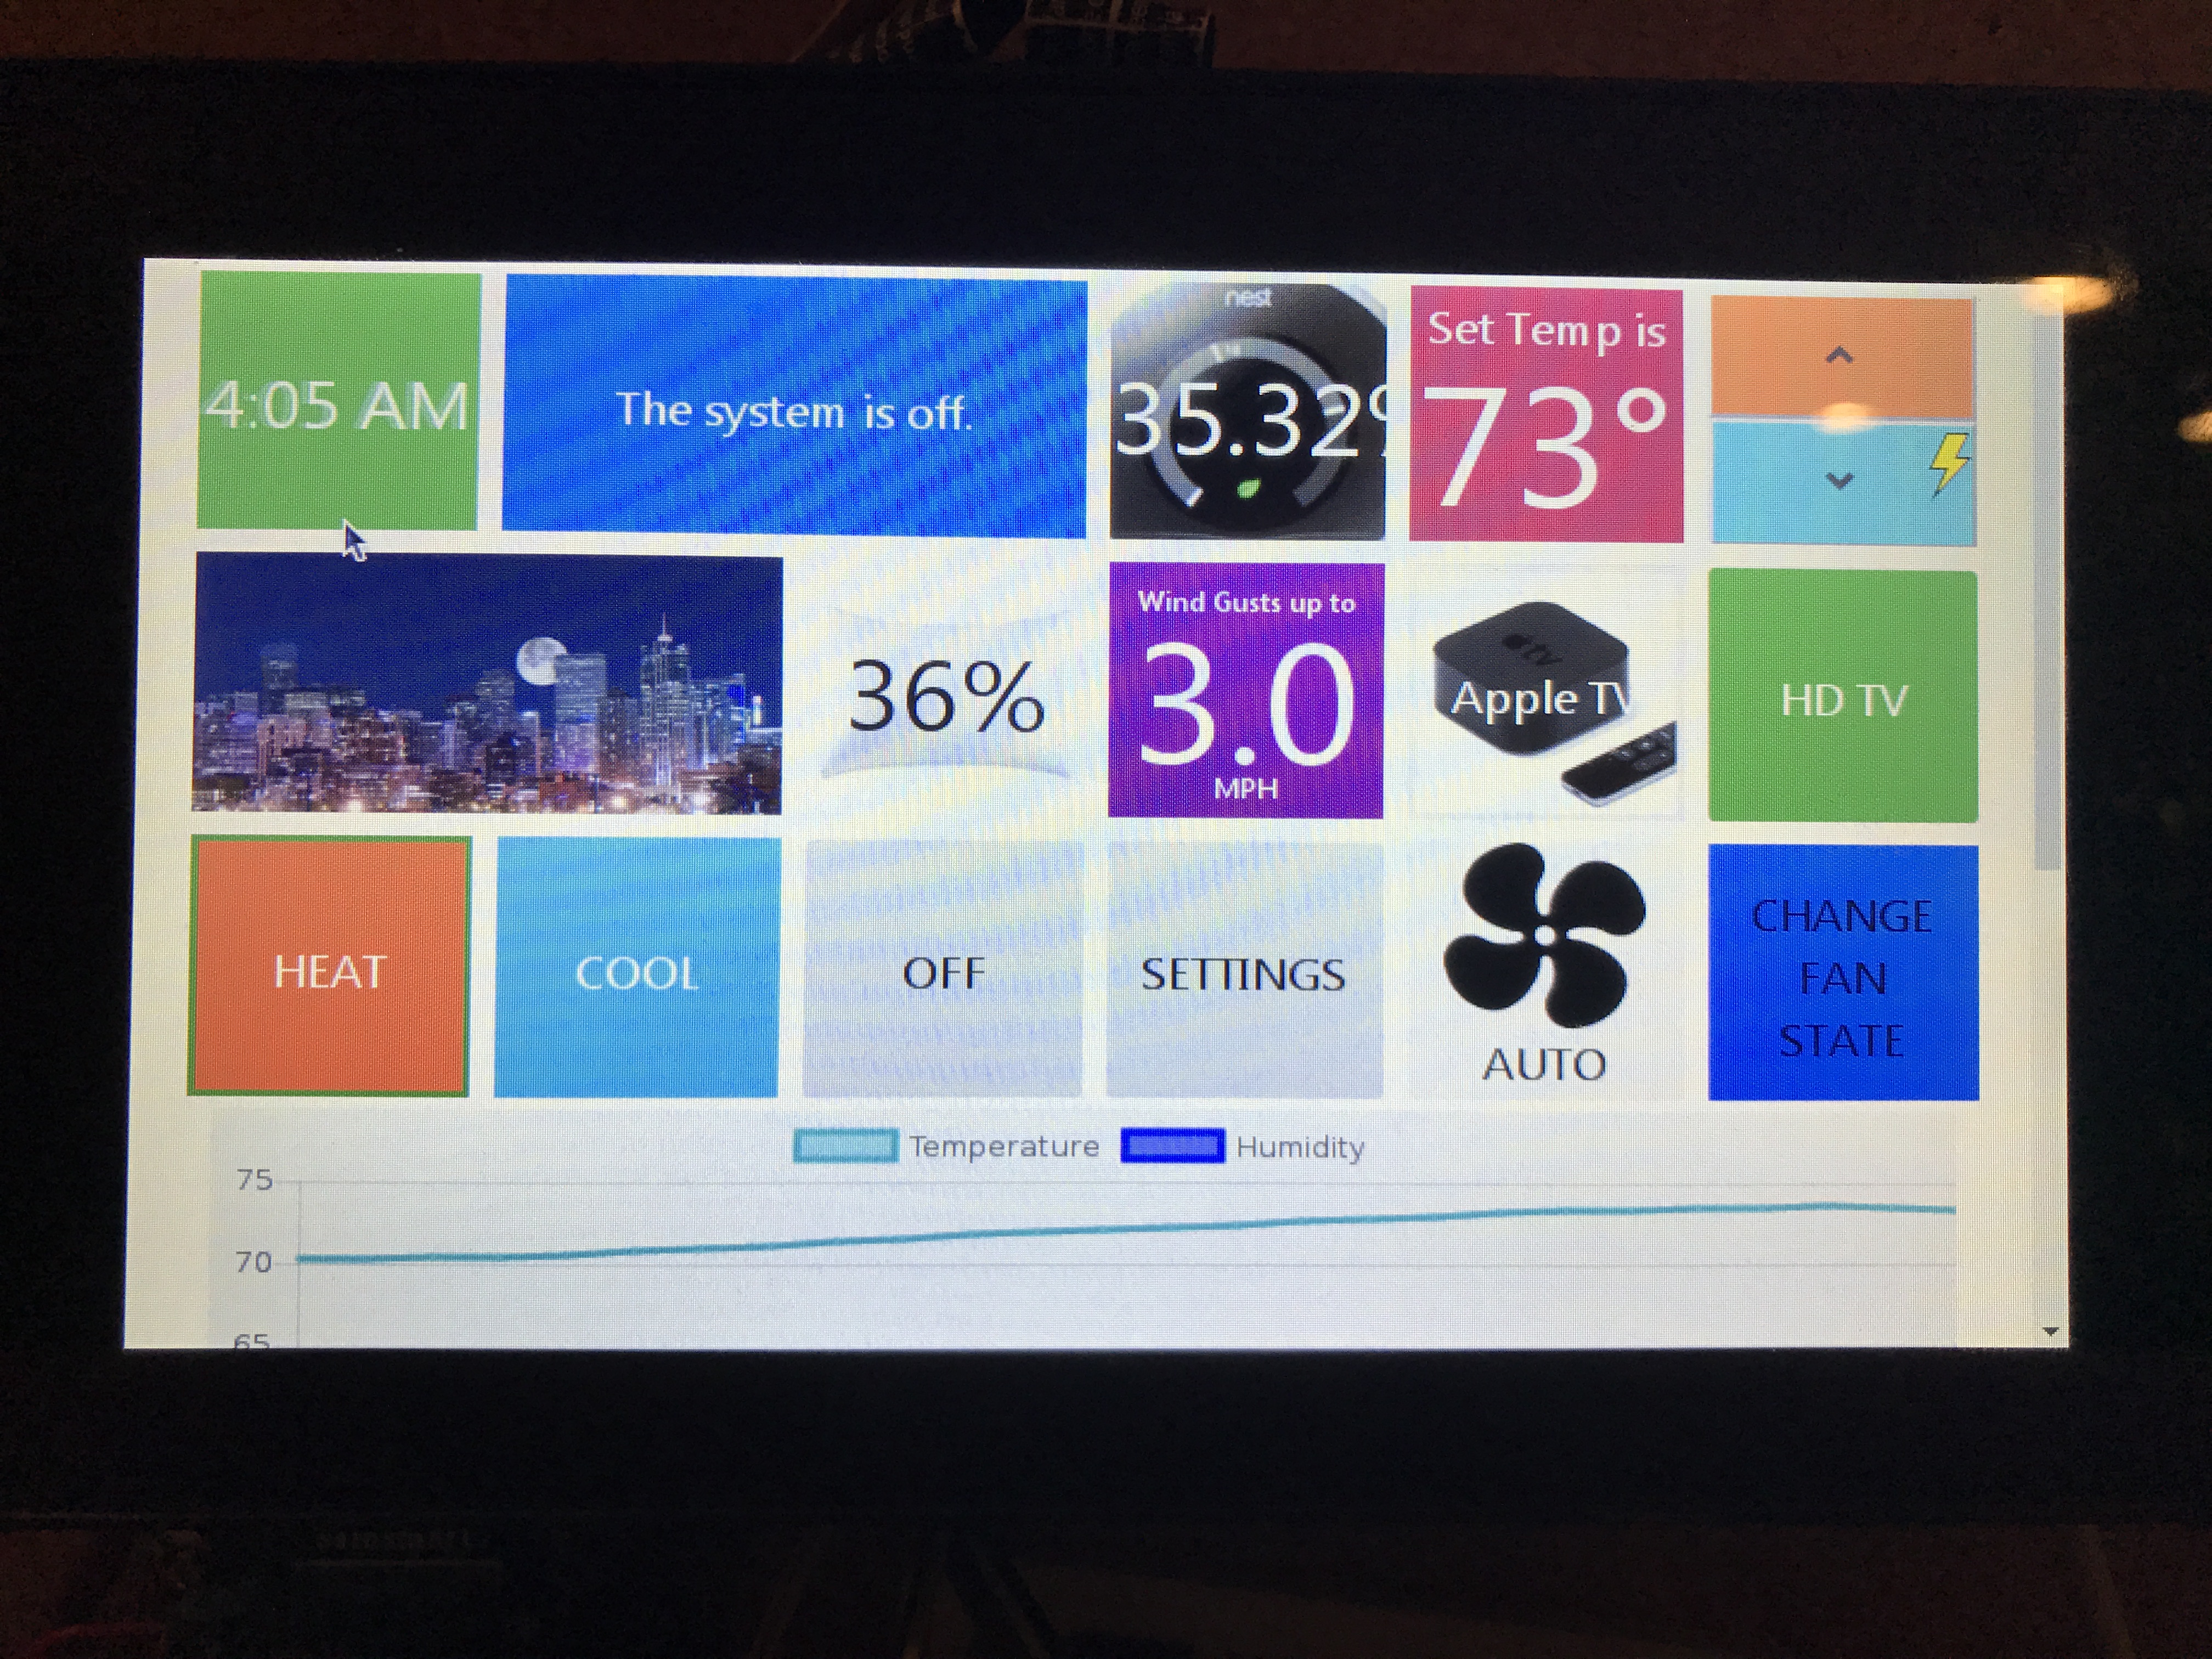
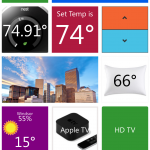
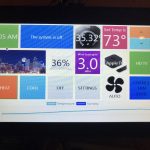
The default user interface has a few required items, such as the current temperature, adjustment buttons, set temperature, the mode of the thermostat, and the state of the fan. The beauty of this thermostat, is that when I see a feature that I want from another thermostat, I can just create a new block that has that functionality.
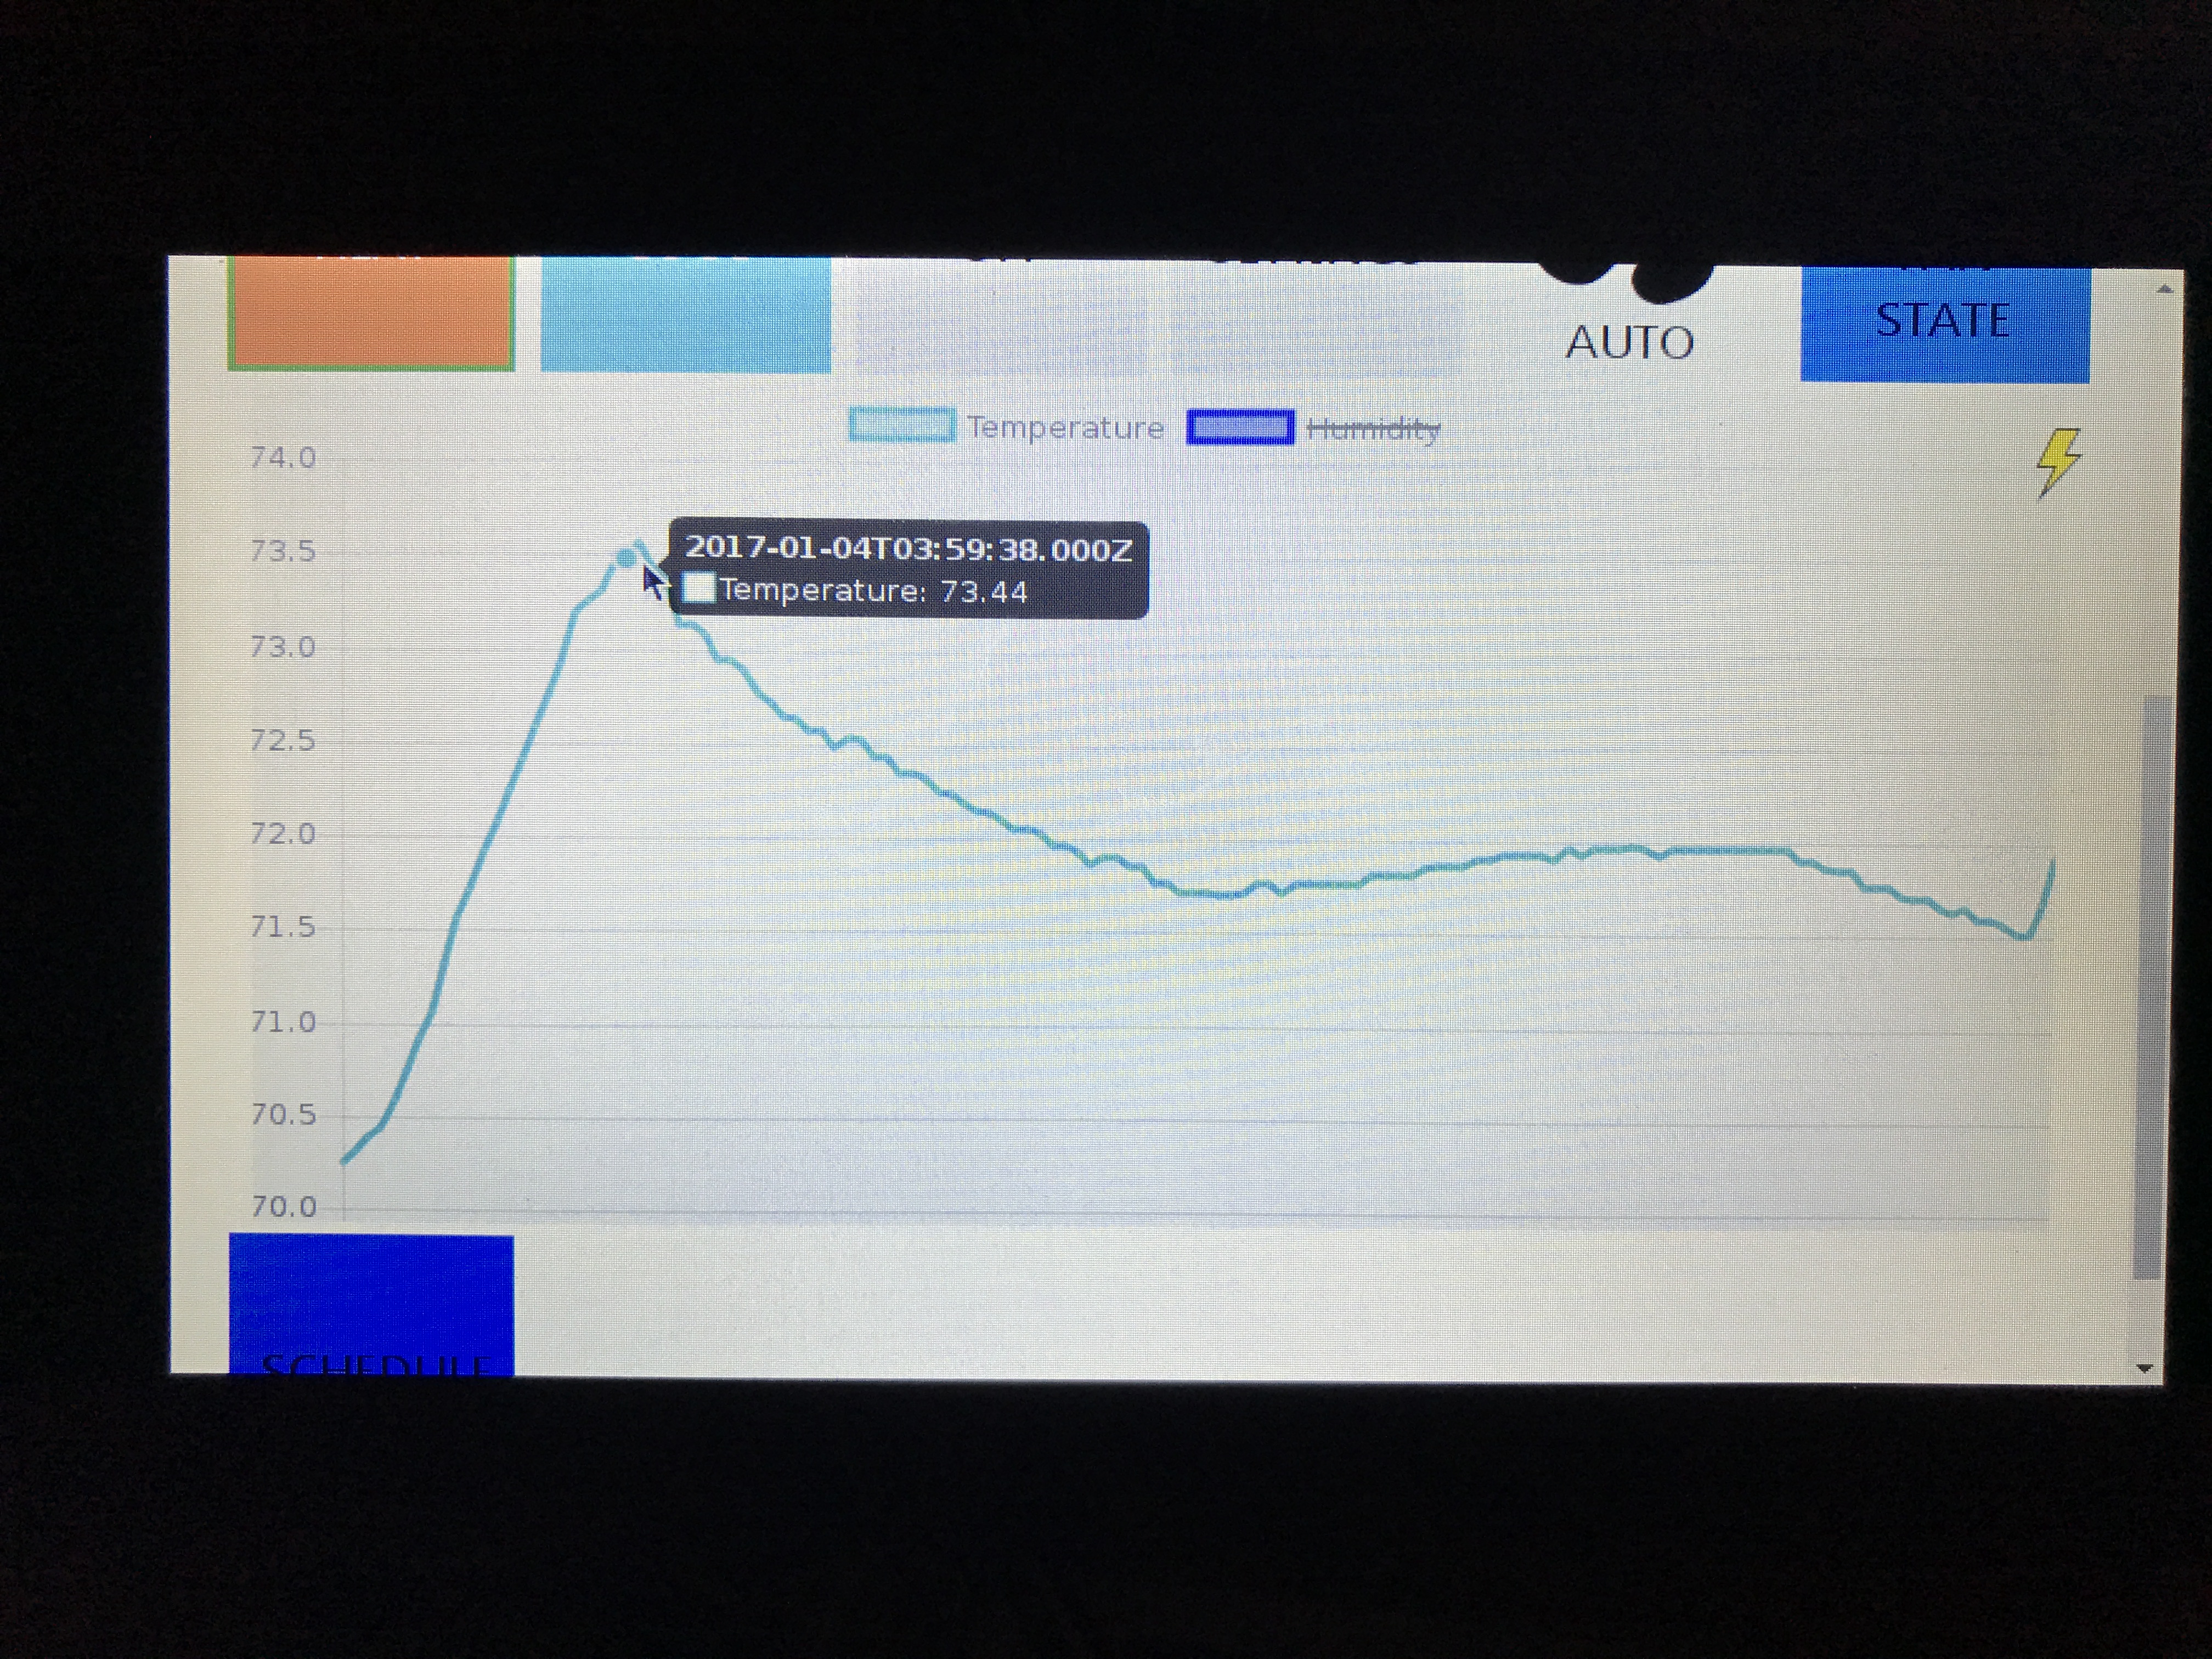
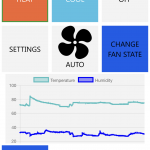
Having a graph view of live data is another feature that I feel is very important. The Ecobee platform does have a graph view available, and it is very informative. The main problem is that the data that it displays is nearly an hour old. If you are testing how your system performs, it is much easier when you can see live data.
NodeJS was used to develop the backend. Jinja was used as a templating engine to create awesome dynamic views for the user. mySQL (mariadb) is used to store information for showing historical data.
The Prototype Hardware:
To get an idea of how a cheapo thermostat worked, I ran one in tandem with the new PiThermostat. This helped glean some information on how this type of system is controlled by people that have domain knowledge.
As it turns out, not much is needed for a base prototype. A simple relay setup that can control at least 3 items is probably necessary. A temperature sensor that is located outside of the micro controller case is a good idea. The temperature sensor should also be protected from gusts of wind as people walk by.

The system does support monitoring more than one temperature sensor. Ultimately it would be great if the user could choose to average the temperatures around the house. This is a feature that the Ecobee performs really well.
Demo Boards:
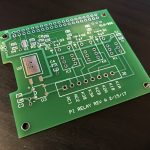
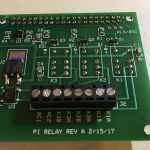
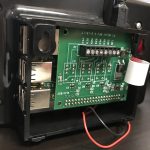
A colleague of mine spun up a version of our Raspberry Pi Relay/Power board. It came out looking really nice.
