Silent Betty
For quite some time now, I have been self hosting a number of services. There are a lot of arguments for and against this, for me it’s about having fun and learning. I have been hosting on a 1U DL360p with 2x E5-2620s and about 100 GBs of RAM. This actually works really well, the biggest issue is sound. The 1U rack mount server was called Screaming Mimi because the damn thing was so loud it sounded like Mimi from the Drew Carey show was sitting right next to you and screaming in your ear. I hated that show, and I hated her character, time to move on.
Along came Silent Betty…
Gathering old Components
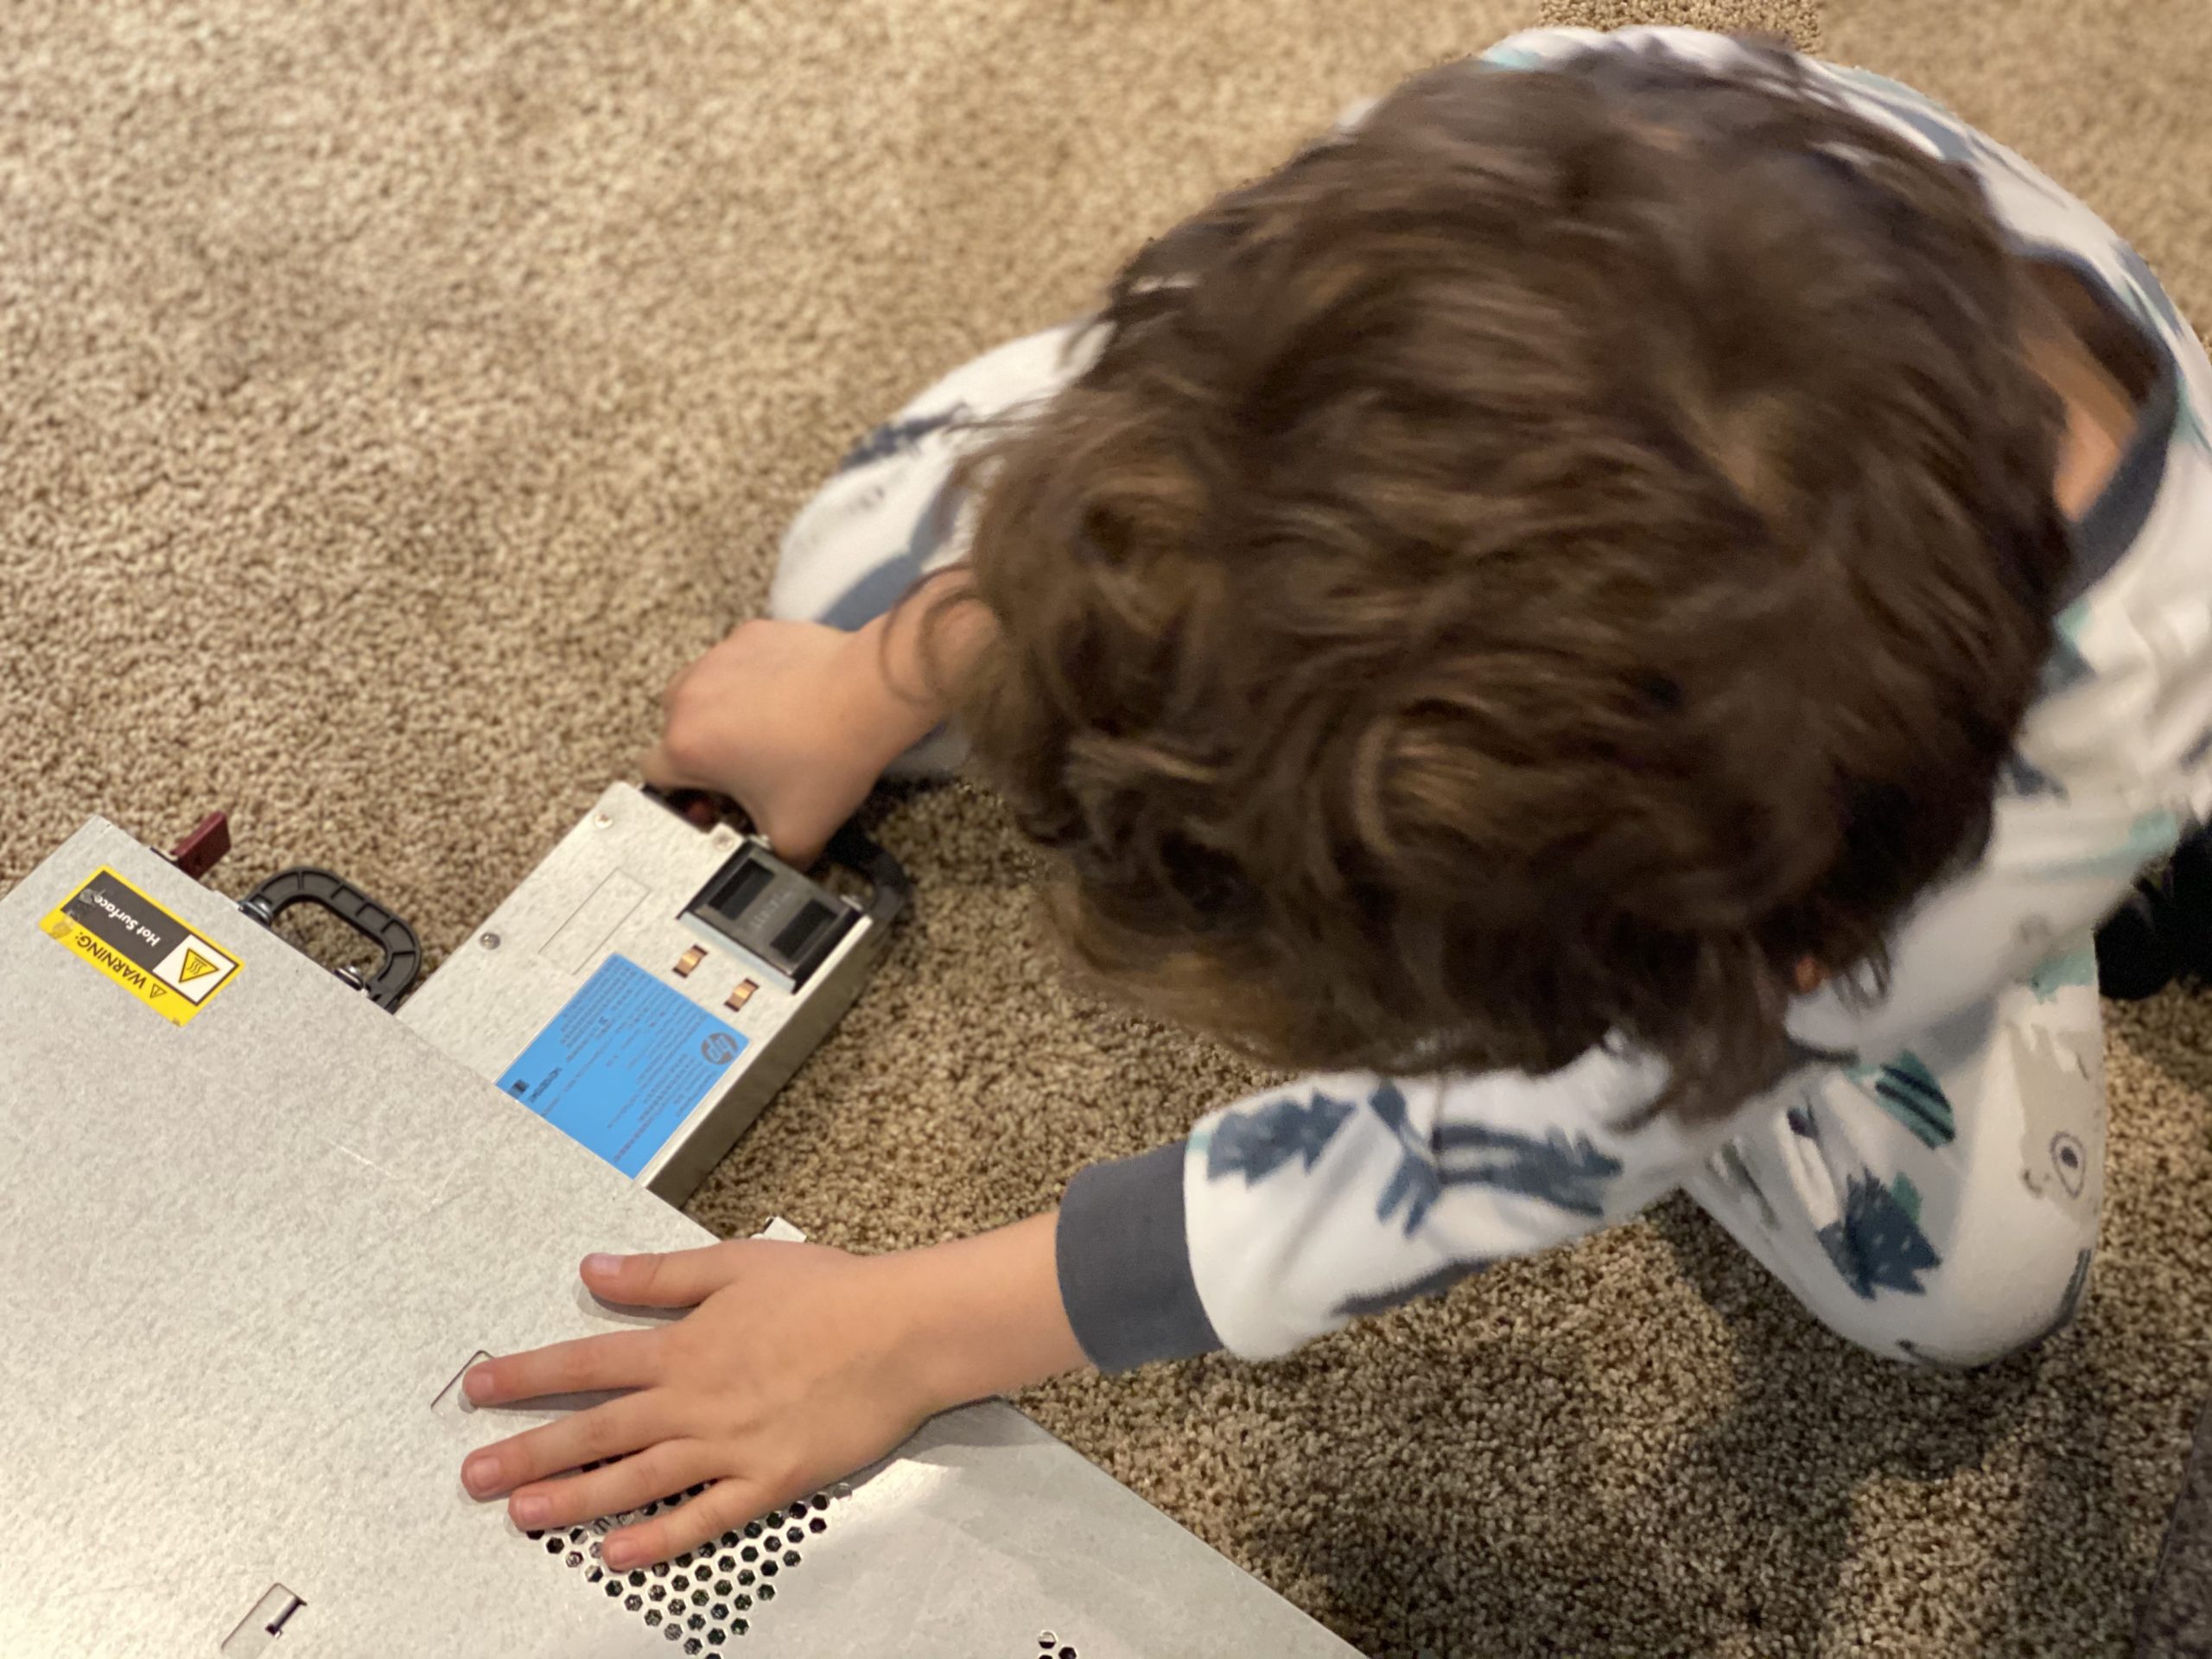
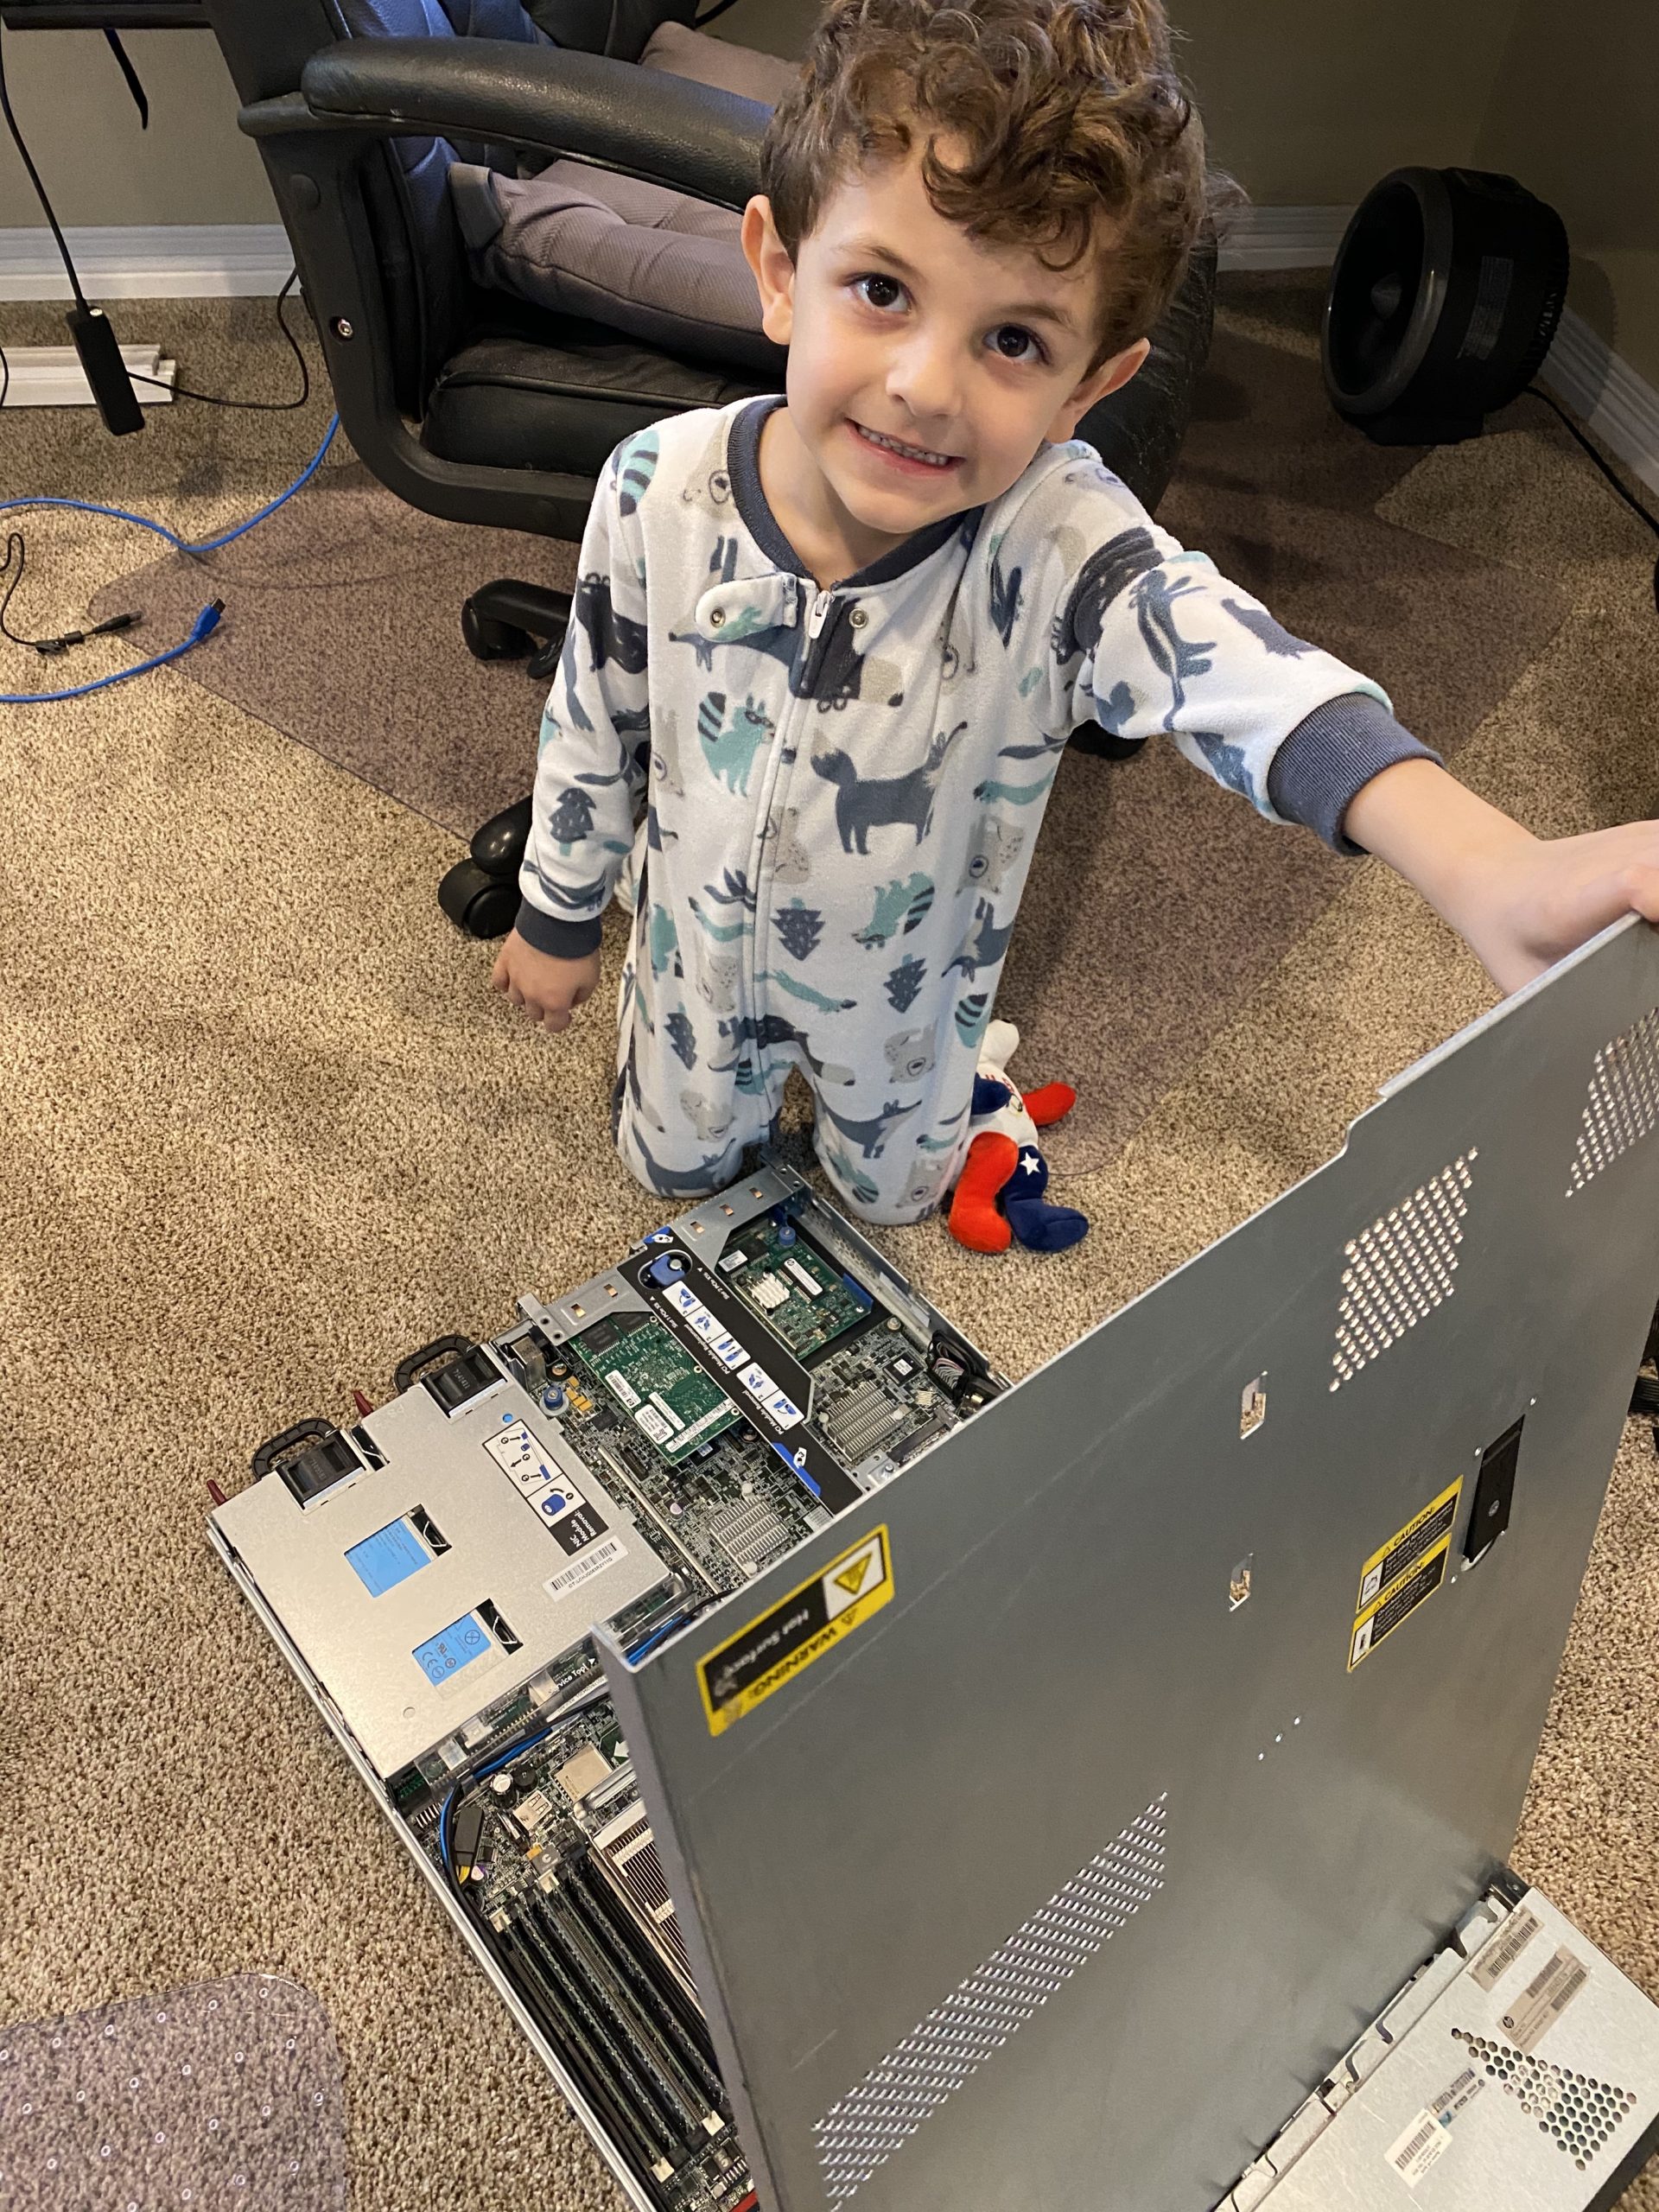
The first task was to tear down the loudest computer known to man, I had my helper give me a hand in his Sunday morning attire:


New System Components
Parts selection for enterprise grade server builds is not entirely new to me, but I don’t have the most experience. This part of the build is fun, because this is really what gives the build character. If you are diligent and patient, you get the parts you need for fairly cheap and end up with a pretty amazing build.
The parts we needed:
- Rosewill 4U RSV-L4500 (on hand) – new on Amazon $100
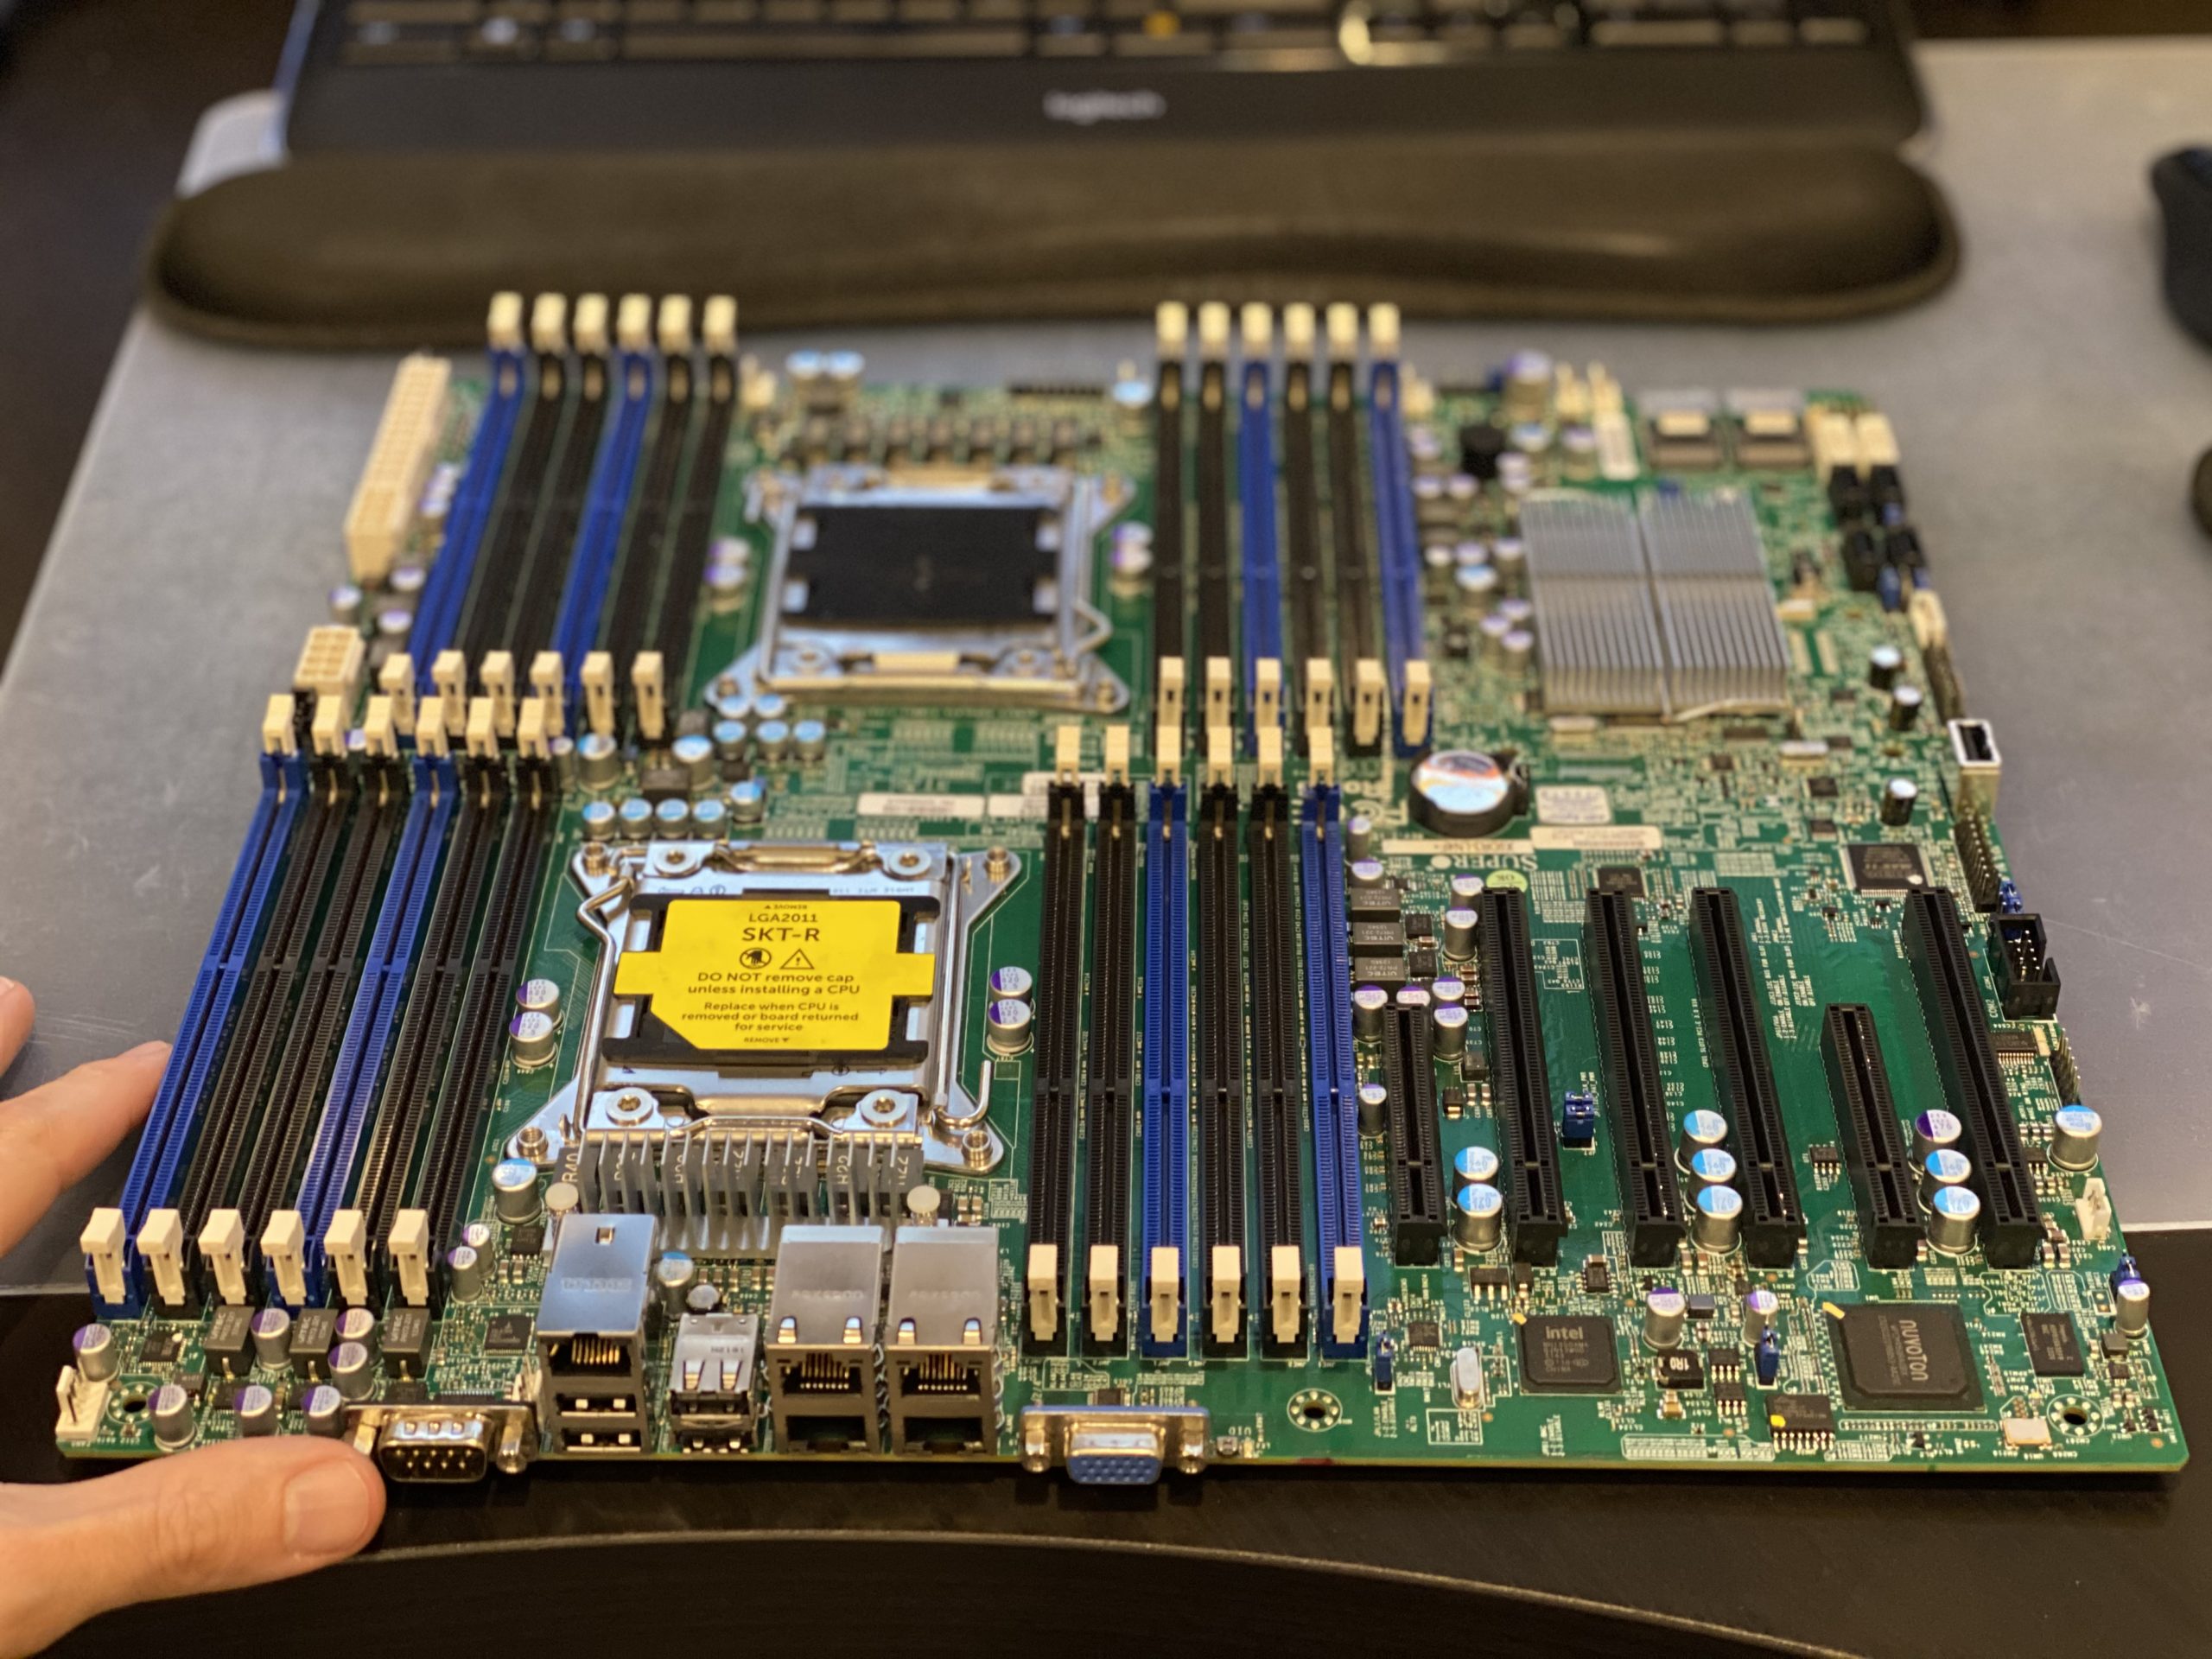
- Motherboard X9DR3-LN4F+ – bought used on Ebay $129
- 100GB DDR3 PC10600 (on hand) – can’t remember the cost
- E5-2620 x 2 (on hand) – bought used on Ebay $40 each
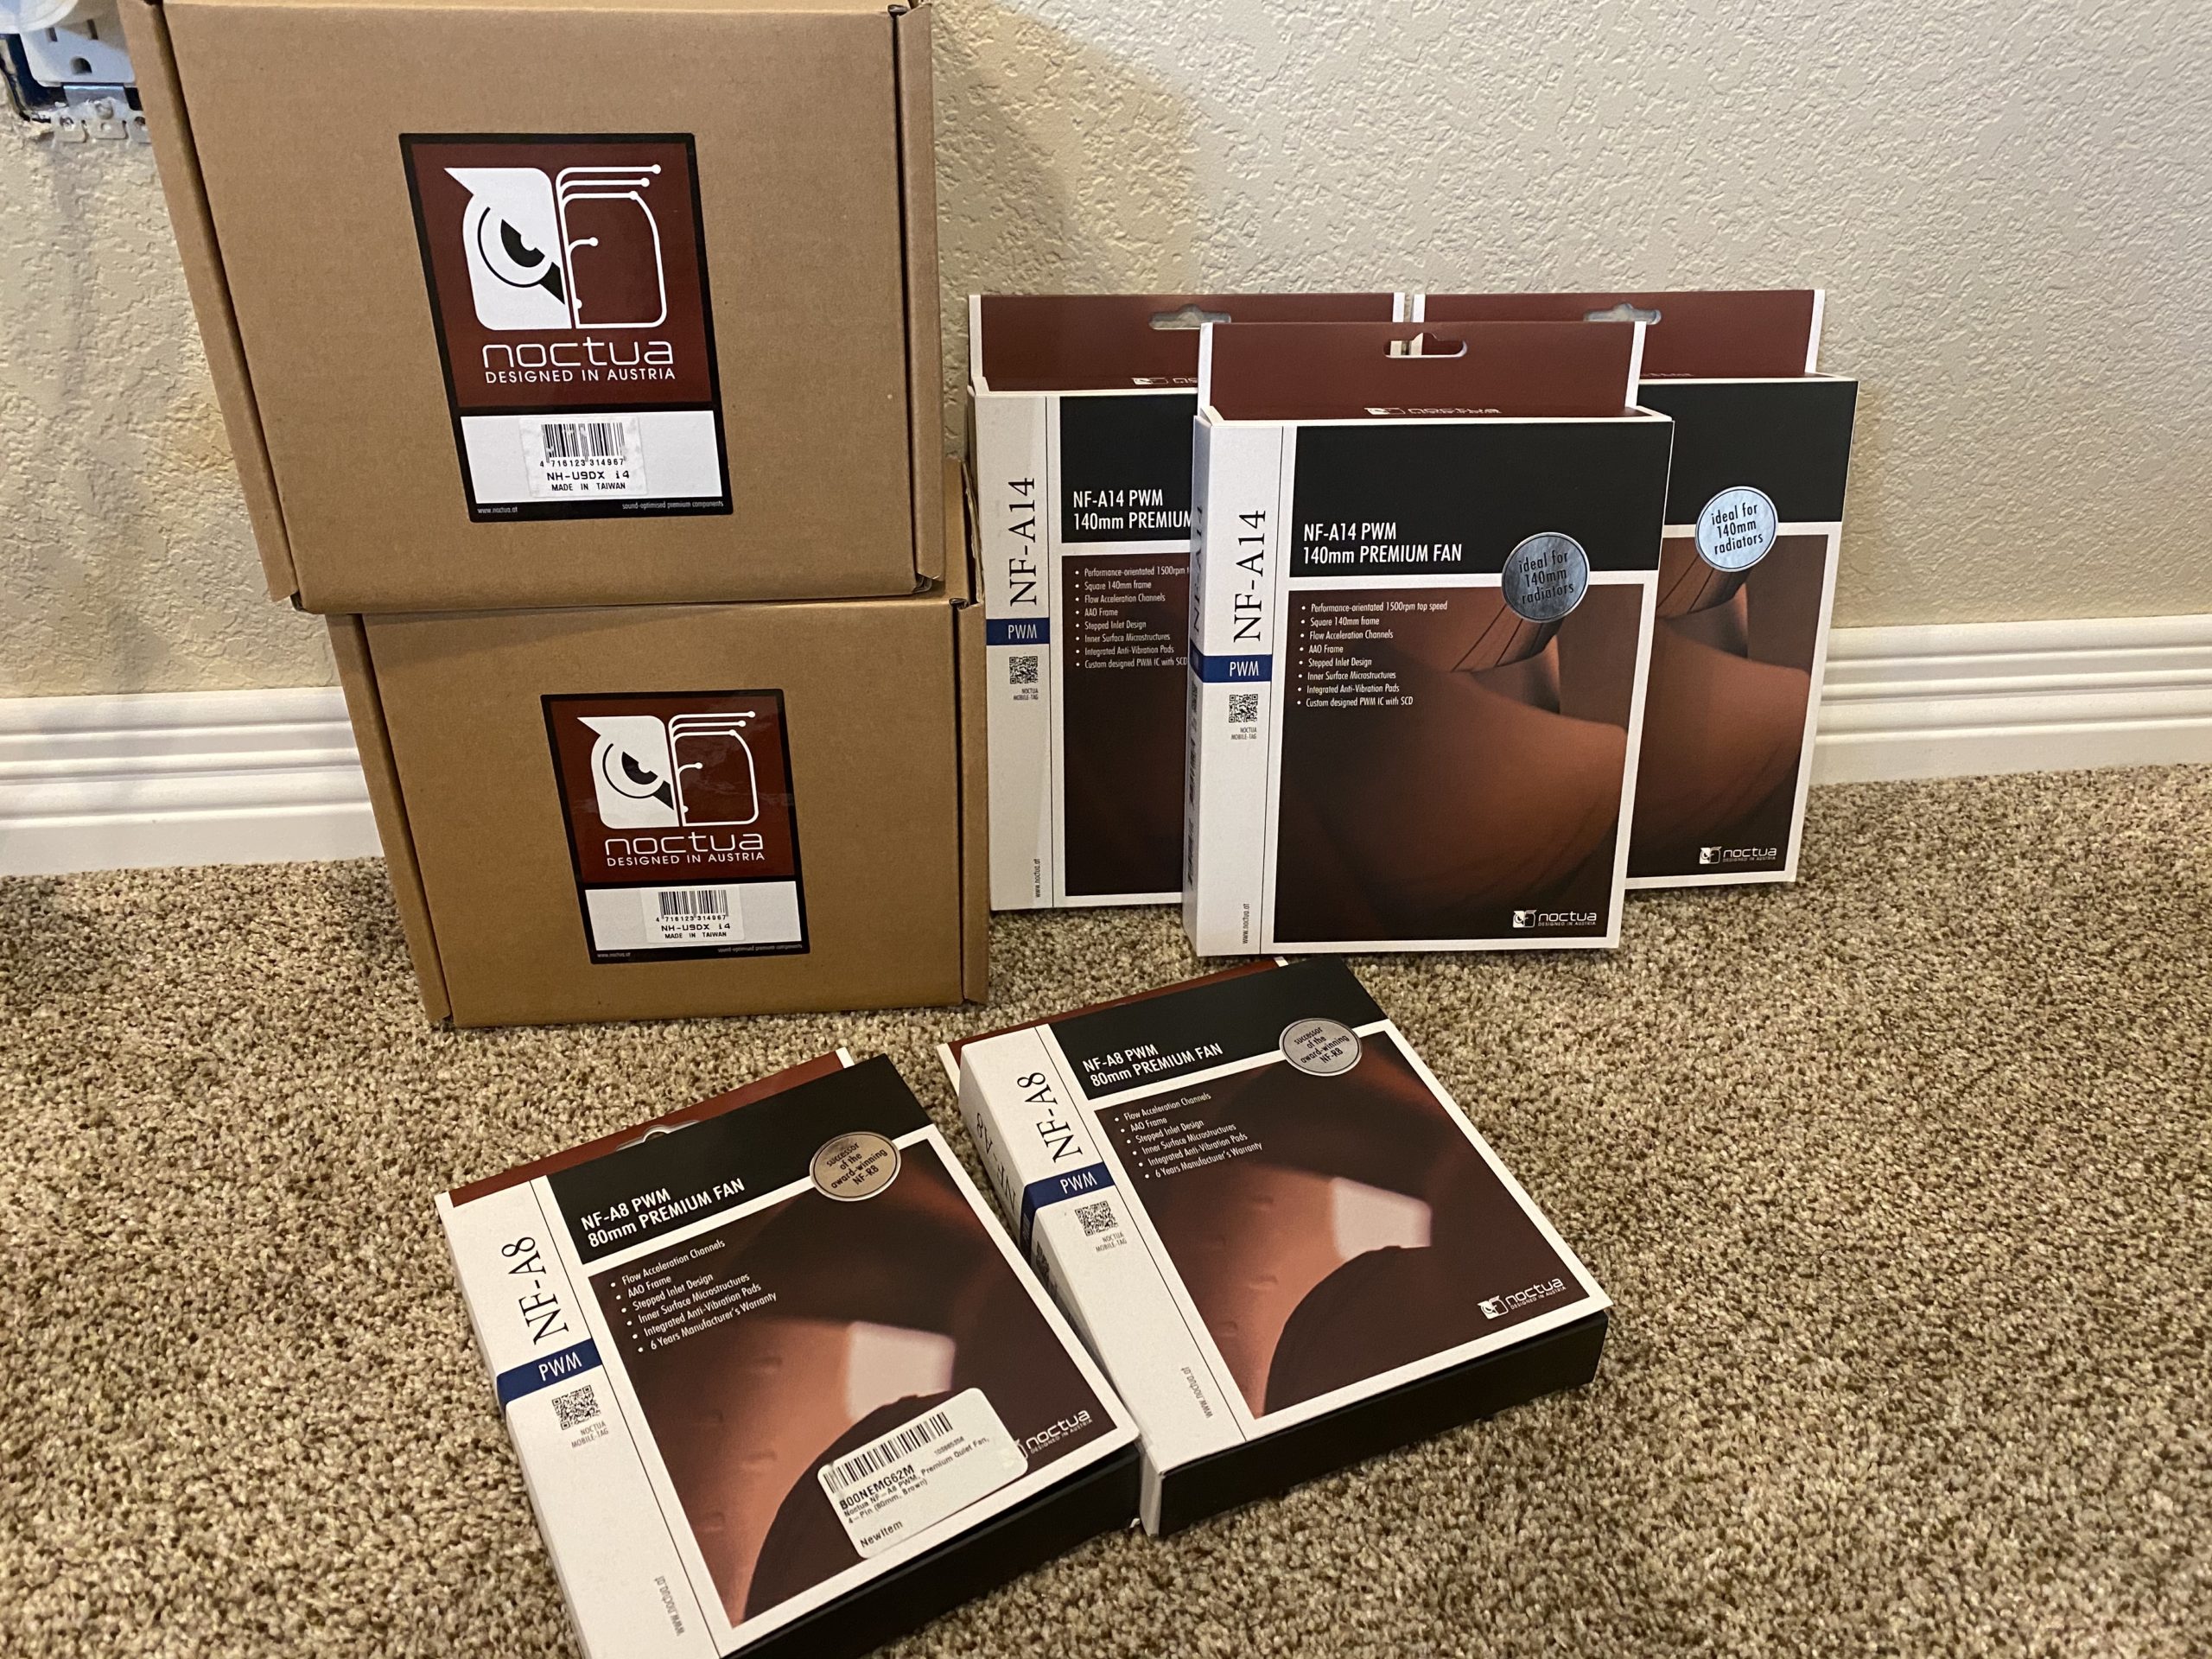
- 140mm Fan Noctua NF-A14 x 3 – new on Amazon $21.95 each
- 80mm Fan Noctua NF-A8 x 3 – new on Amazon $15.95 each
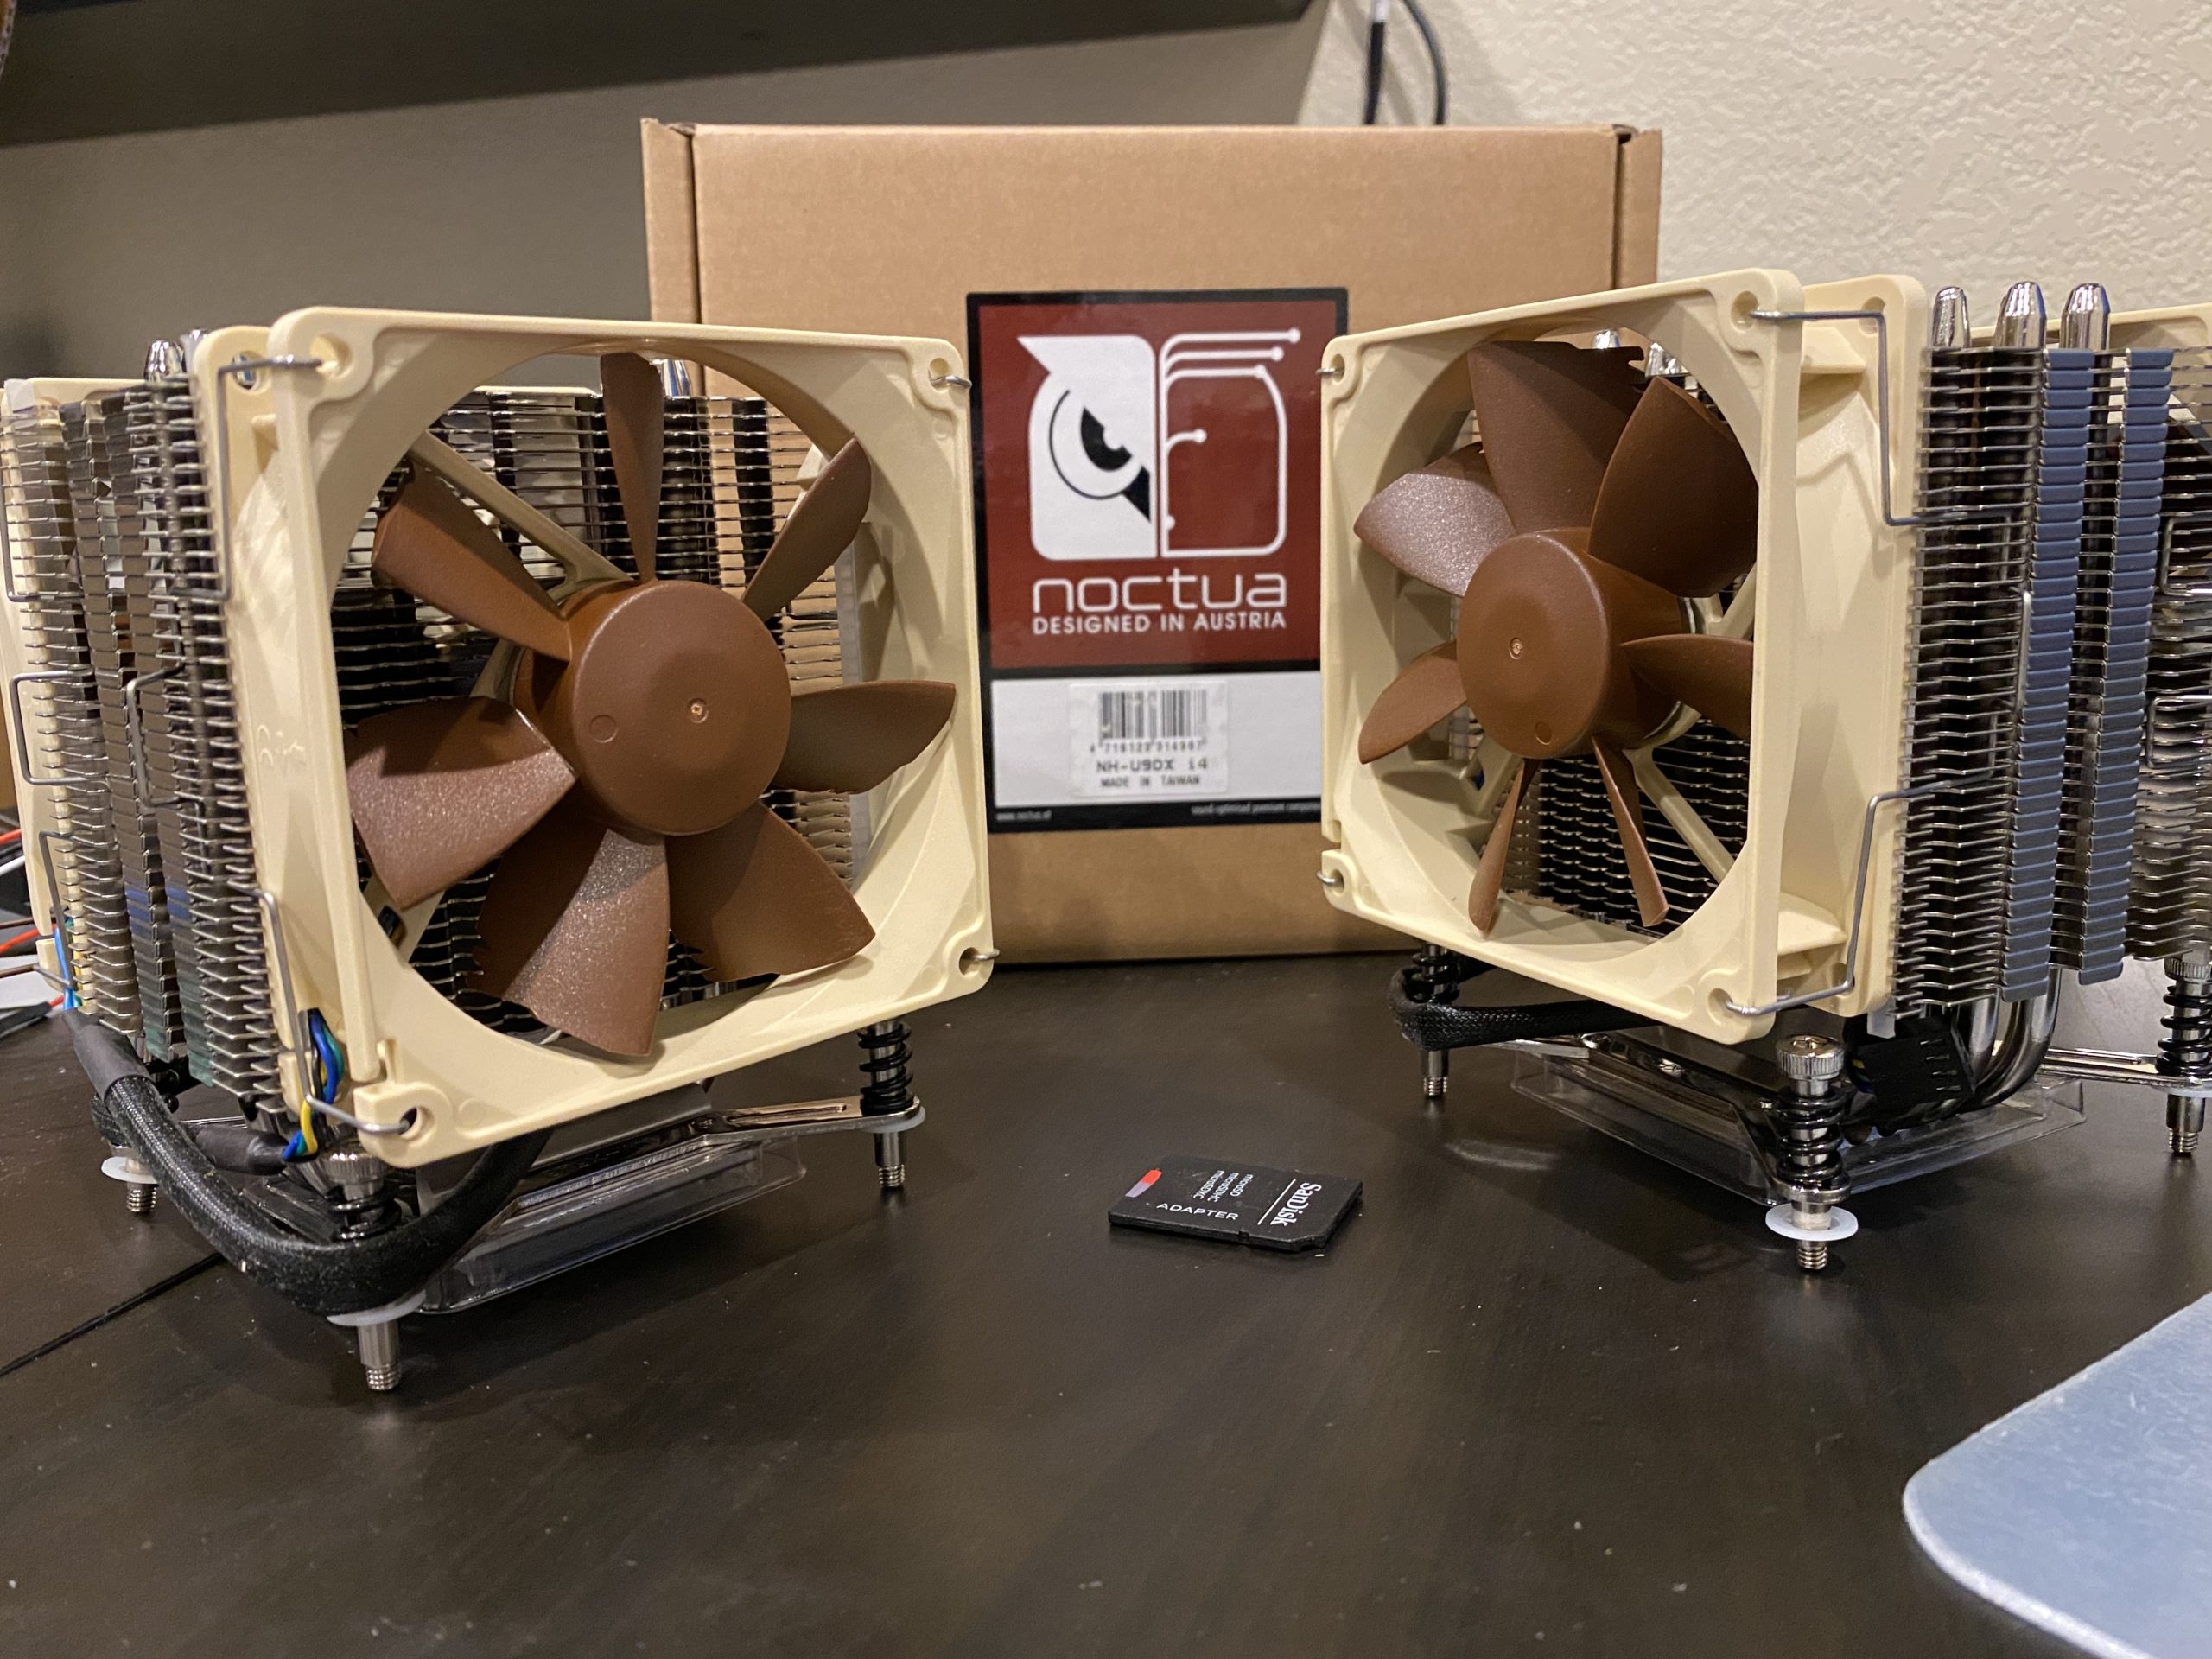
- CPU Coolers x 2 Noctua NH-U9DX i4 – new on Amazon $59.90 each
- SFF-8087 to SFF-8482 SAS Connectors – new Amazon $13.99 each
- HGST 10K RPM 900GB x8 – used on Ebay $550 total
- Corsair 750 watt PSU (on hand) – new Microcenter <$100
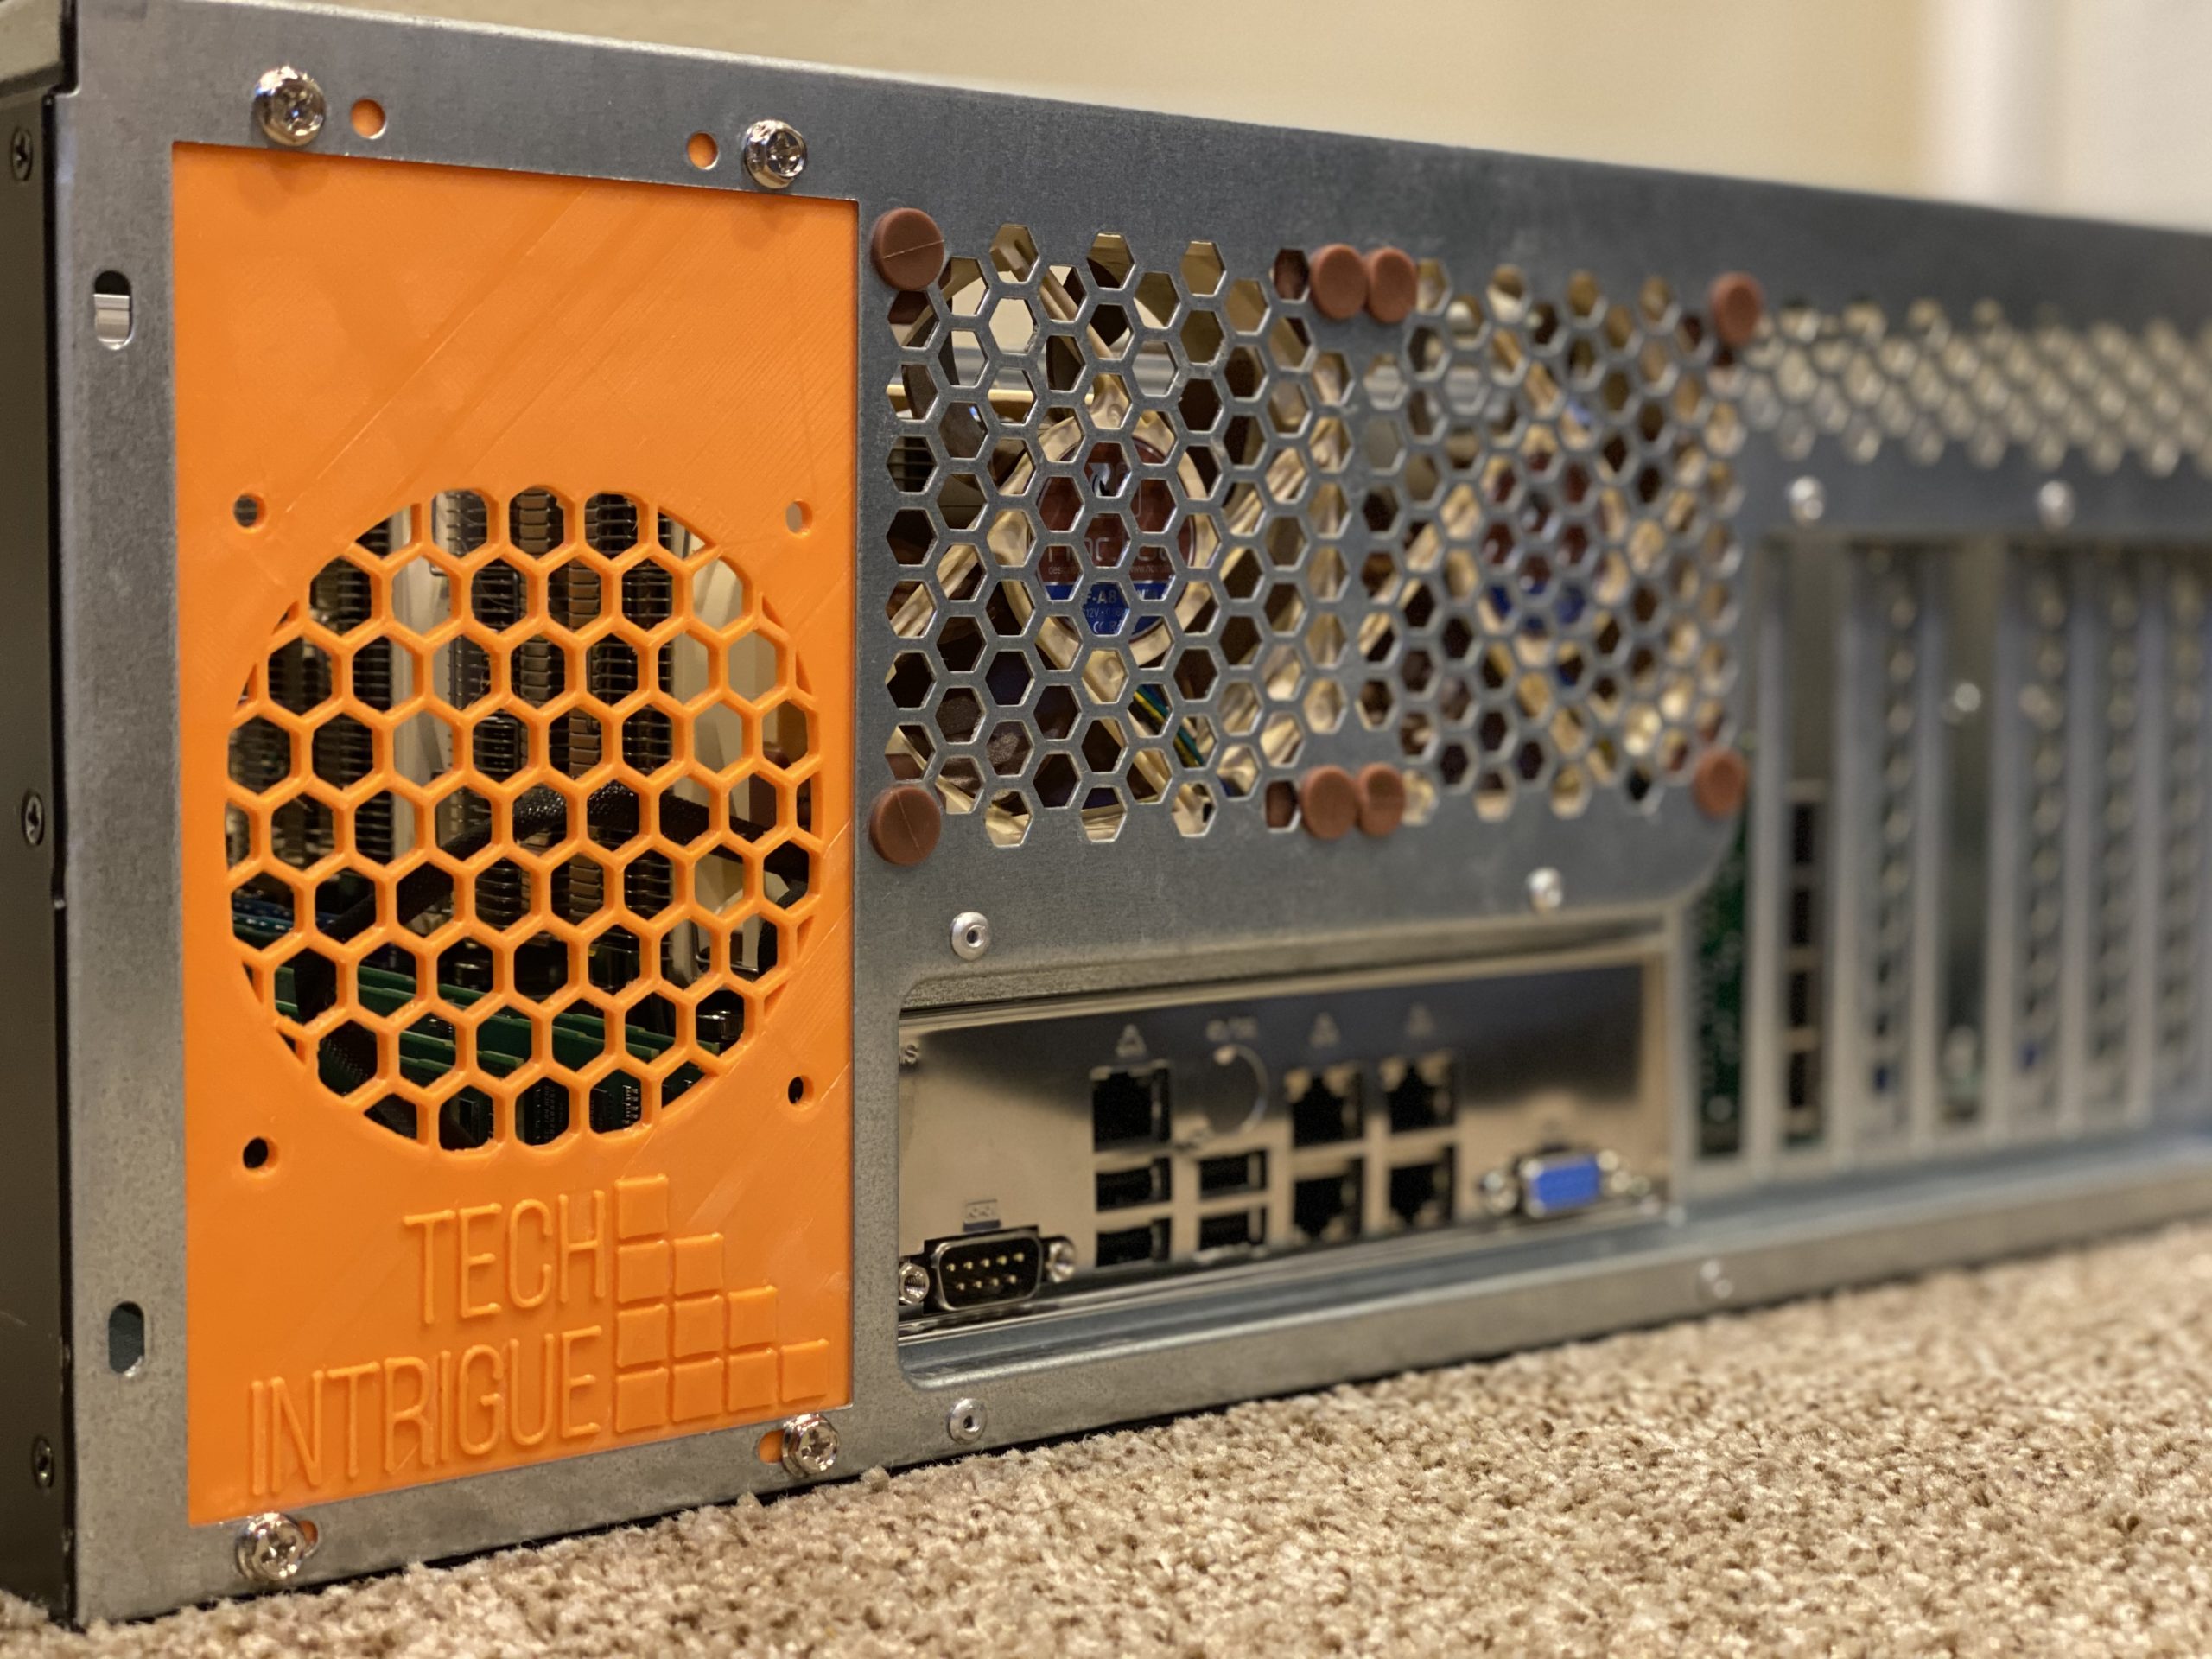
- Custom Fan Mount Kit for fan wall – $0 + design labor
- Custom PSU Mount – $0 + design labor
- 2.5″ to 3.5″ HDD adapters – $0 + design labor
- PSU Guard (to fill old mounting space) – $0 + design labor
Parts started to arrive!

The components that I chose slowly started to arrive. It was exciting to get numerous packages over a 3-4 week period. This is the part that you have to be patient for, otherwise the budget can get out of hand with shipping and handling charges.
Designing and Printing!
I didn’t plan on having so much of this build be dedicated to CAD work. An issue that I see today, and I could be wrong a solution might exist out there, is that 4U racks don’t typically fit eATX (extended ATX) motherboards with ATX power supplies. This leads to two solutions:
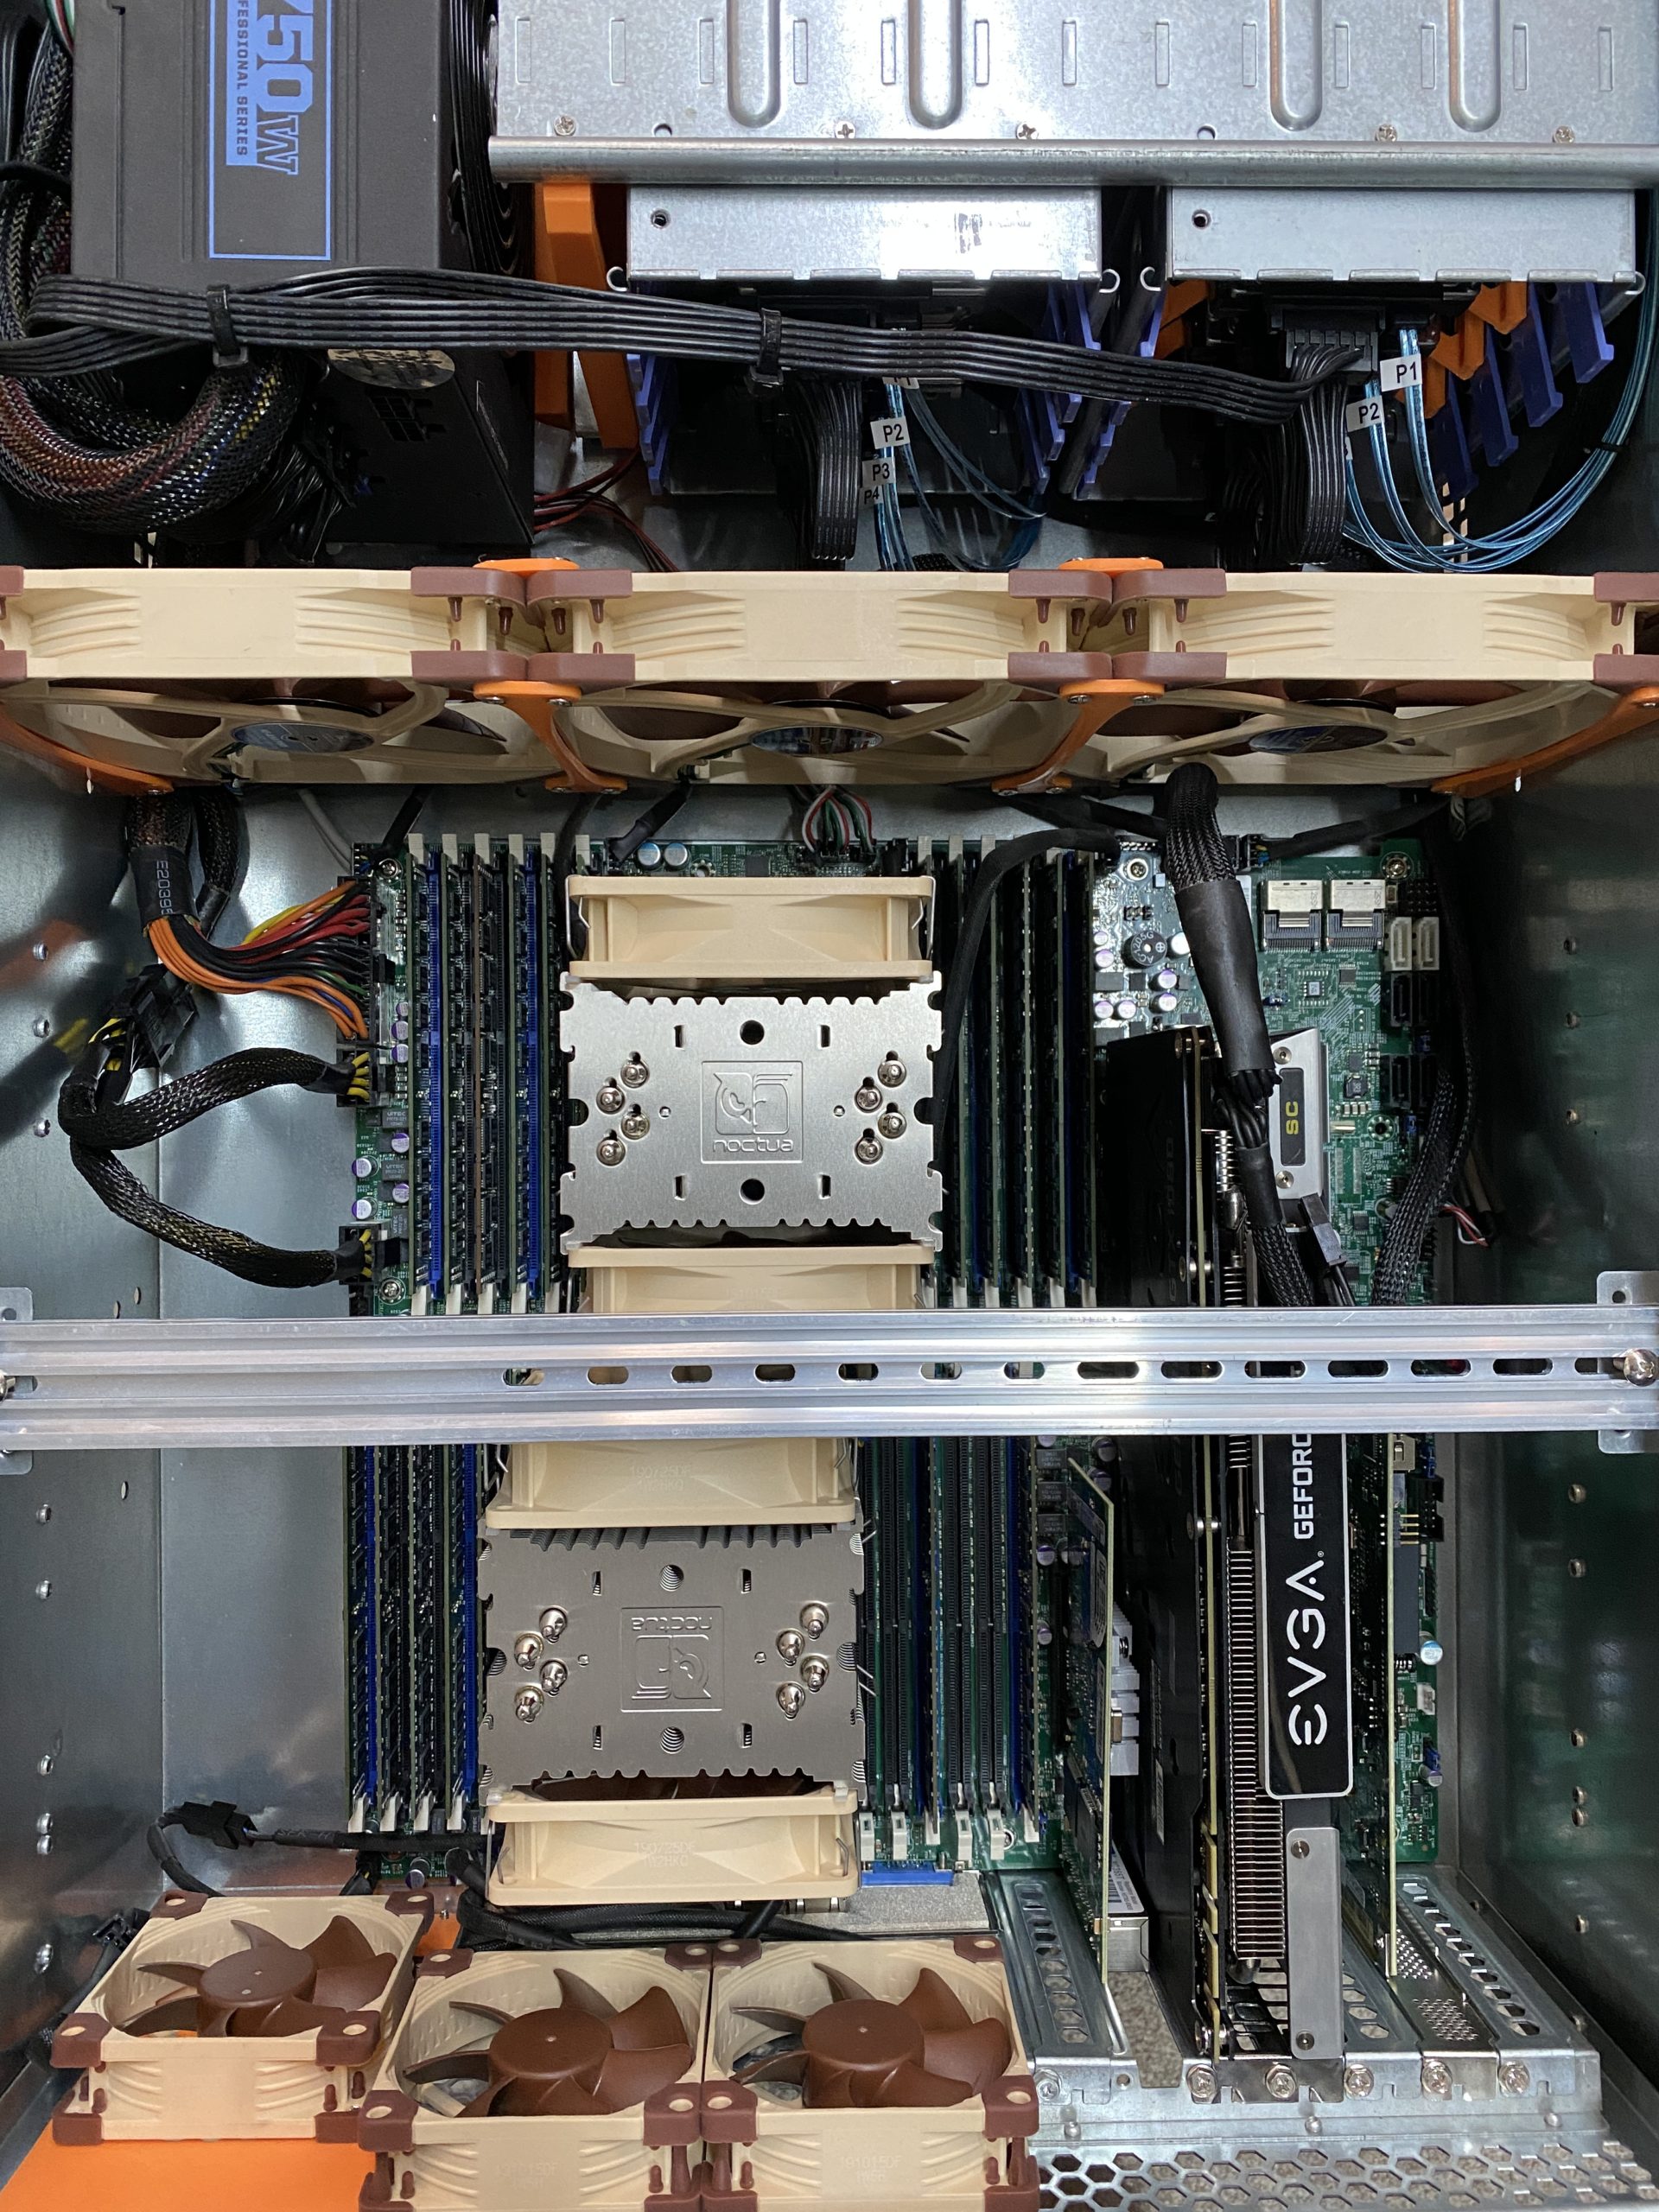
- Usually, an eATX motherboard will have a custom power supply setup, these power supplies are usually half as thick as an ATX power supply and this allows the extended portion of the eATX motherboard to fit into a 4U chassis.
- The other common thing that I see is the 4U chassis will be split horizontally into two equally sized planes. One plane for PSUs and one plane for the motherboard. This means that the motherboard really only has 2U worth of space for cooling.
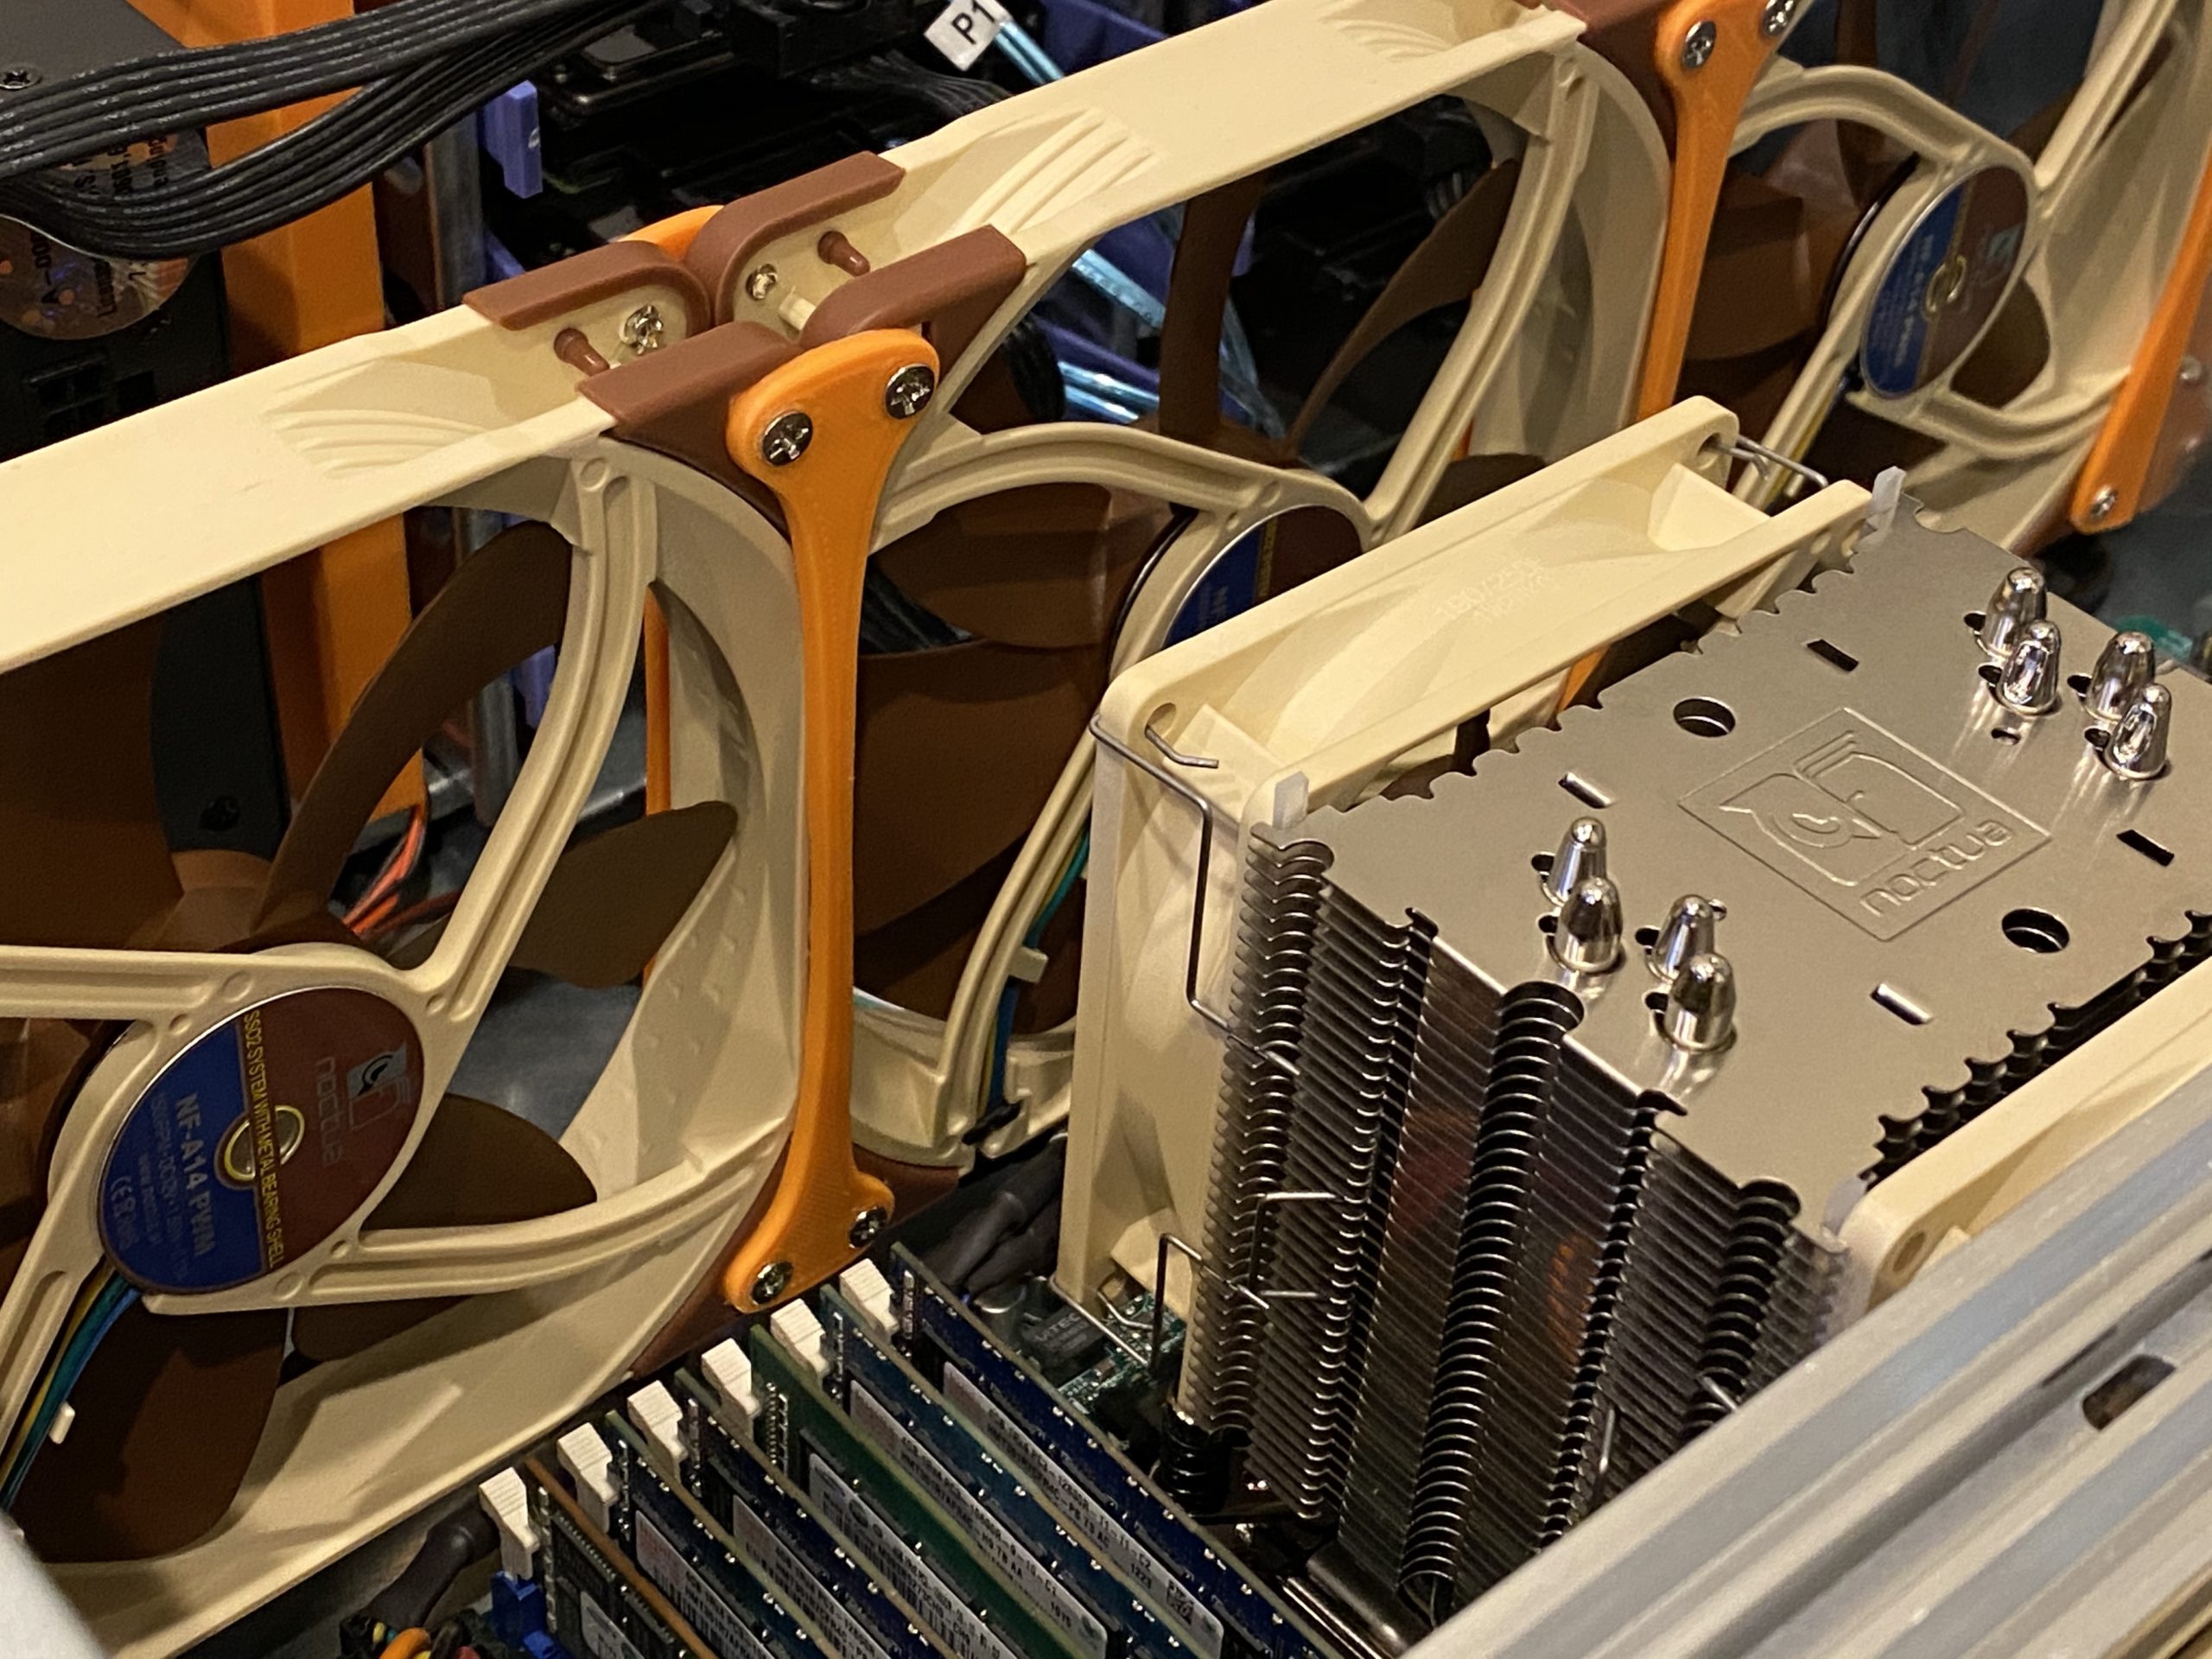
With the solutions above, you end up with really loud power supplies, and really loud CPU cooling. I wanted to use taller more effective CPU cooling solutions to help keep Silent Betty, well… silent.
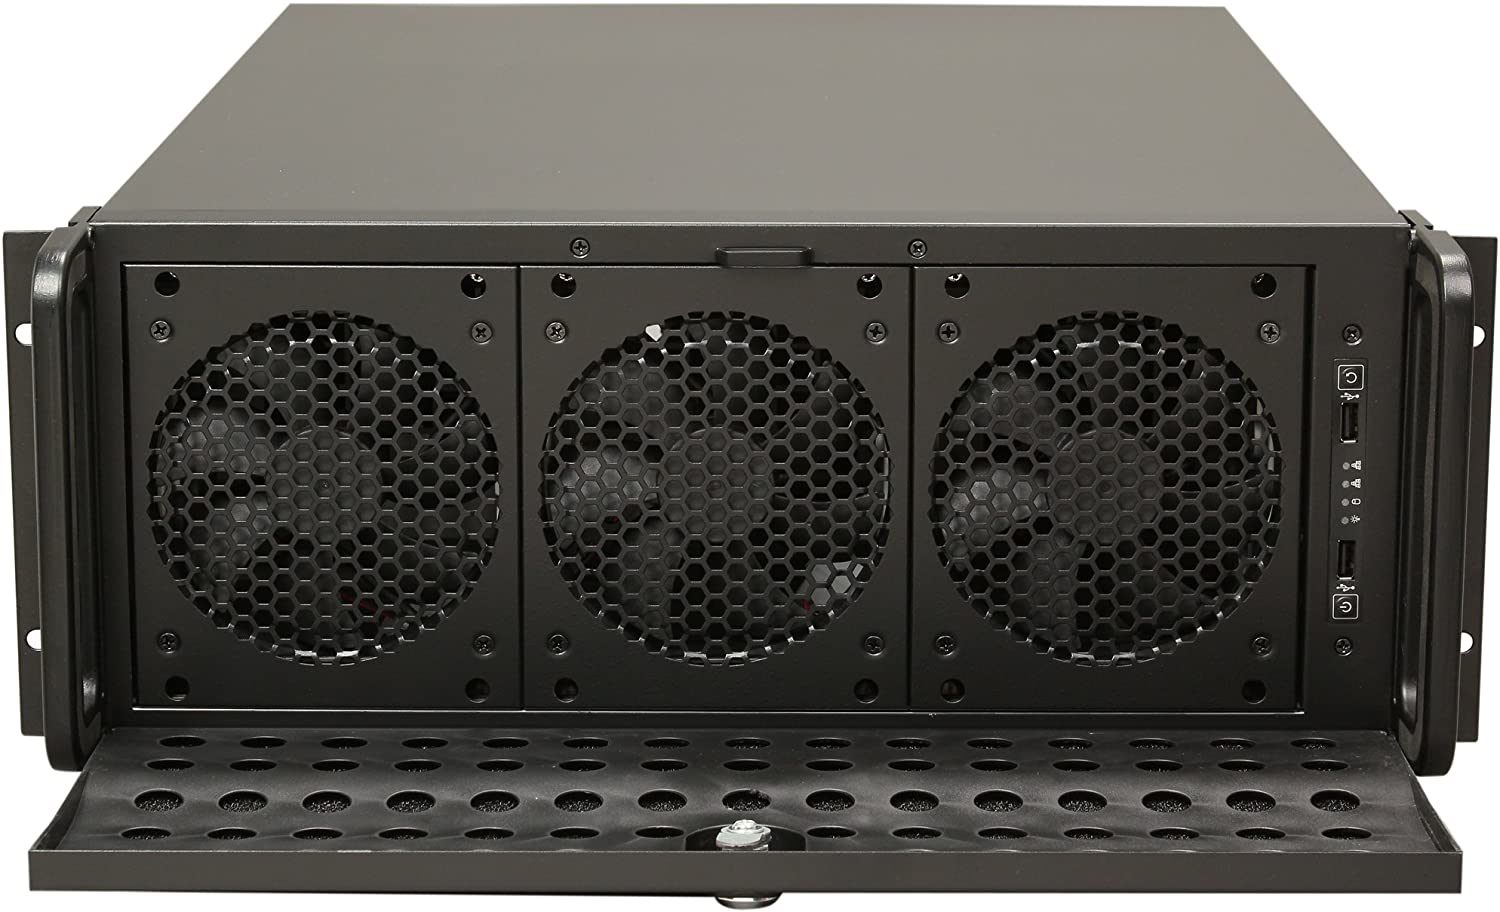
This is one of the things that makes Silent Betty truly custom. The PSU gets moved from the rear of a standard 4U rack mount Rosewill RSV-L4500 to the front. This chassis comes standard with 12 Hard Drive bays (4×3) in the front, each with a 120mm fan for cooling. The new design removes one of these bays and replaces it with a custom mount for a standard ATX PSU.
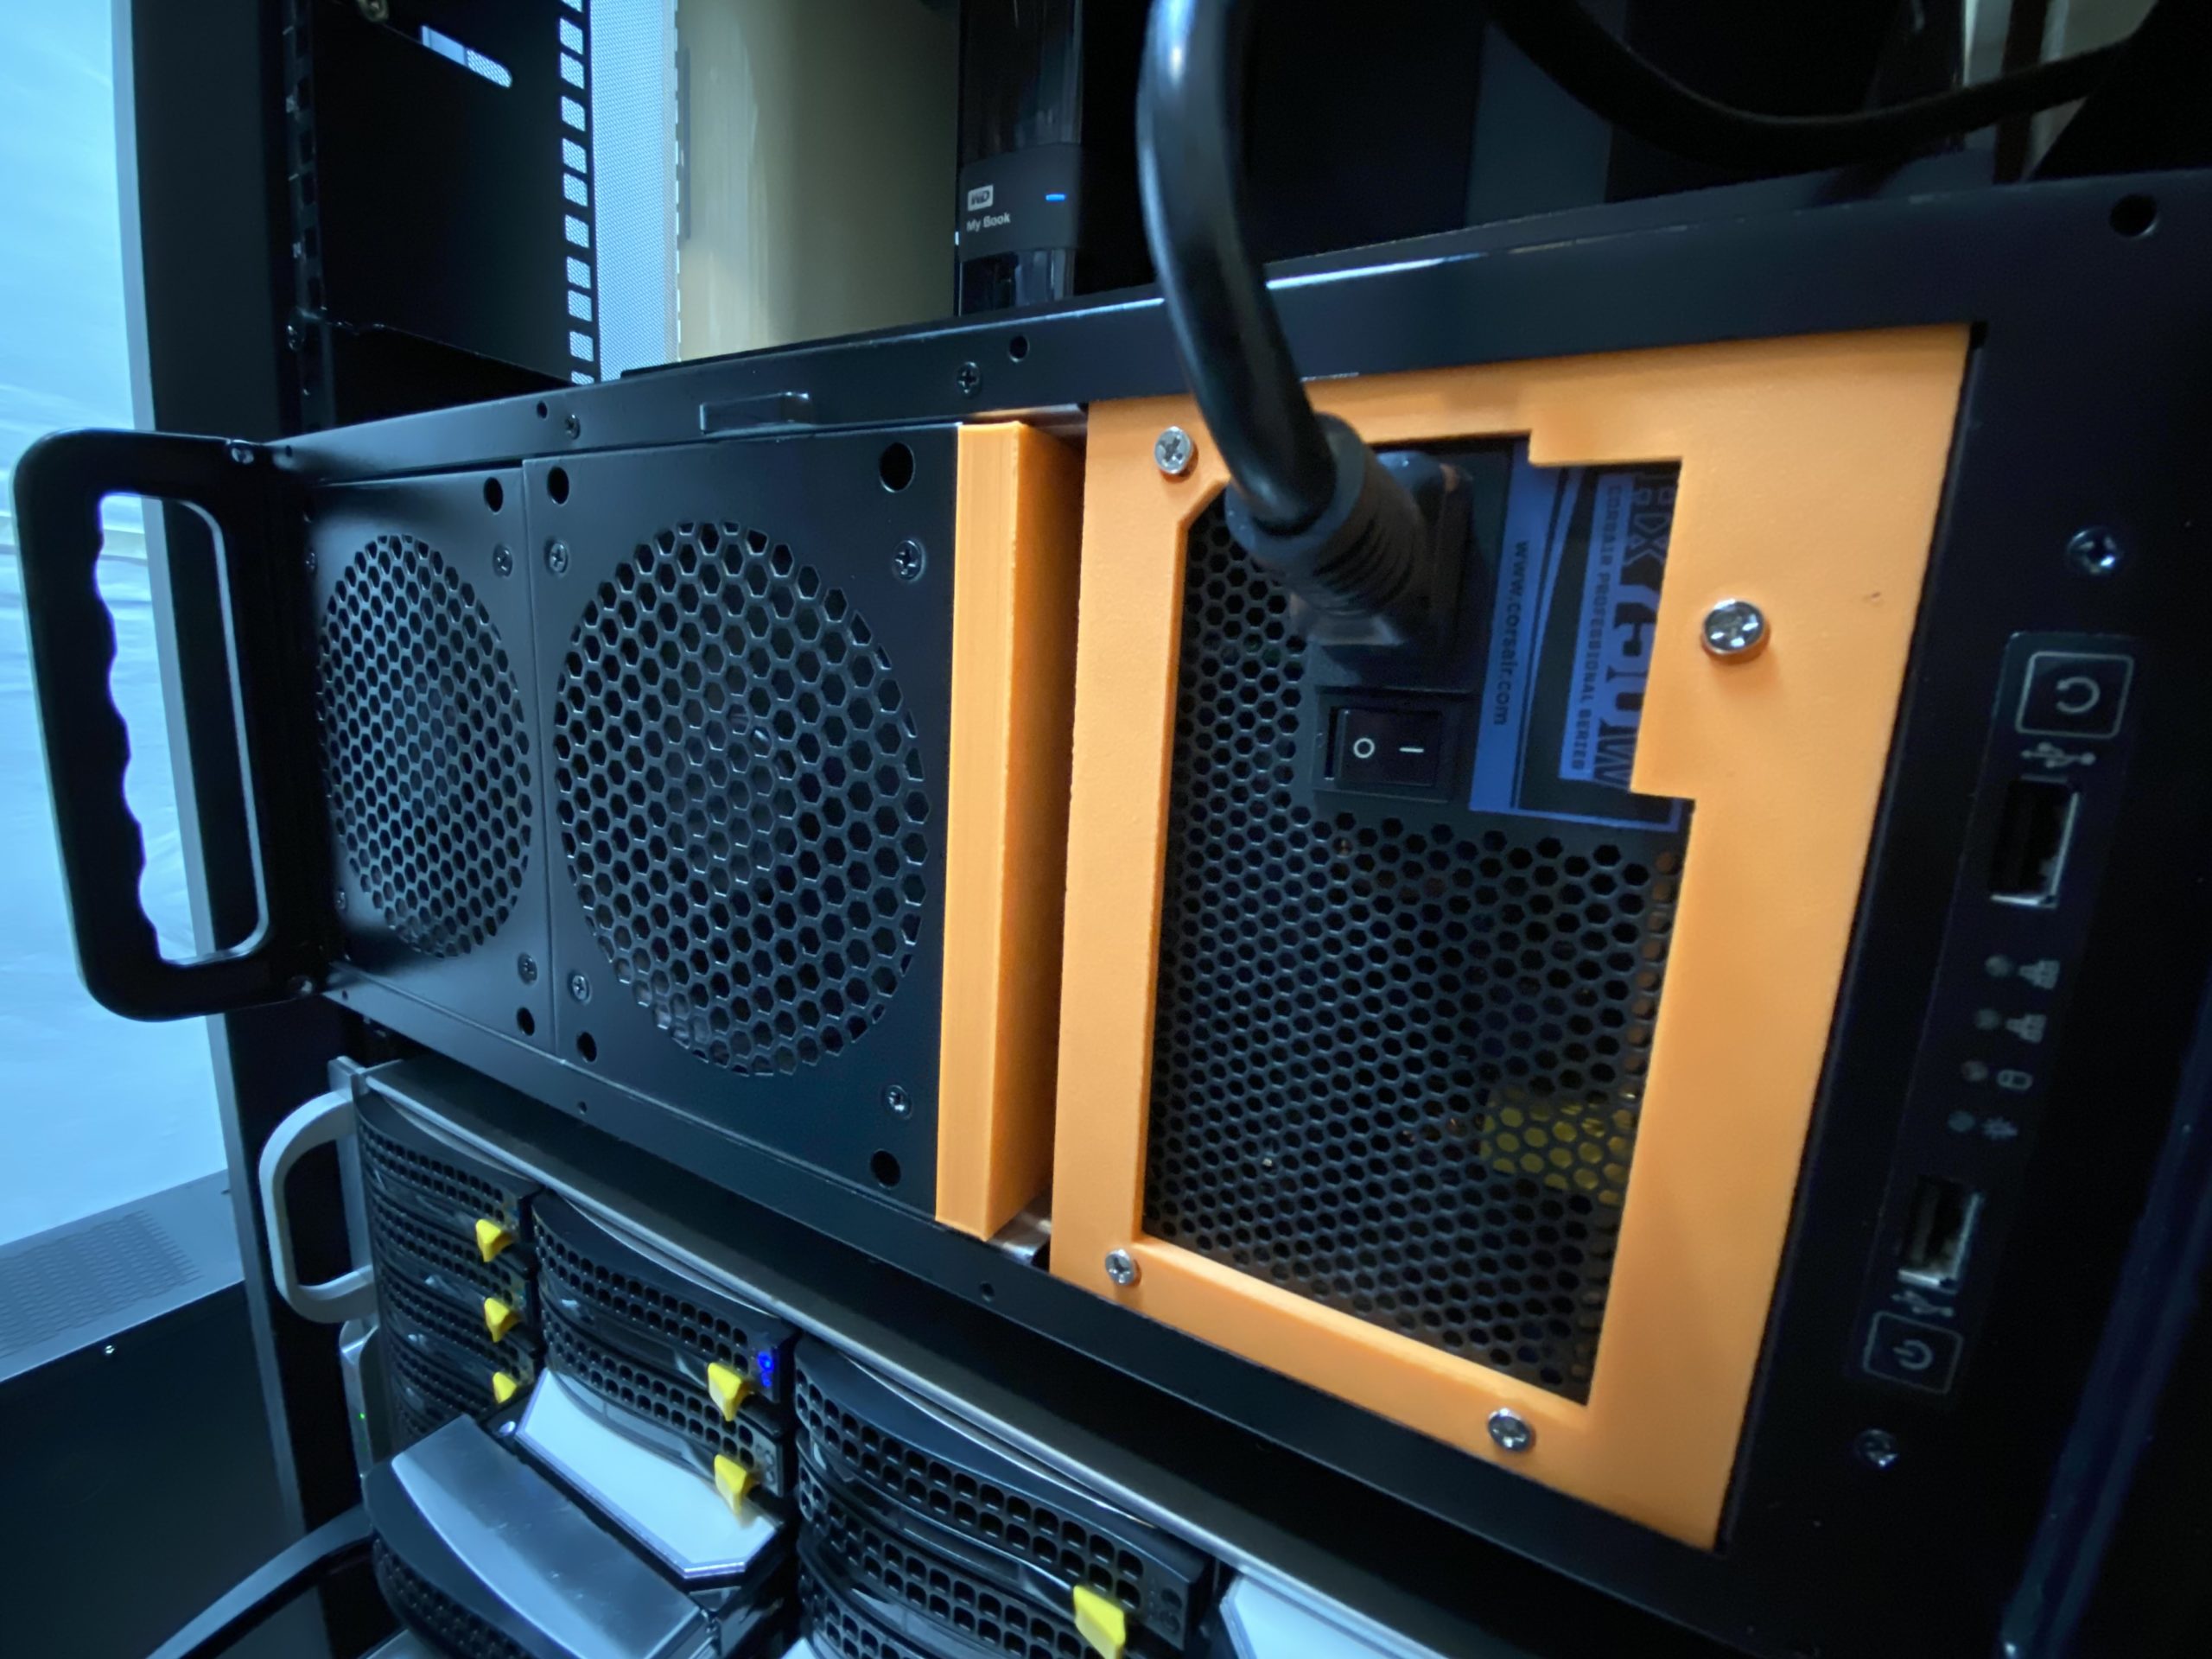

The next custom component is the fan wall. If working from the front of the case backwards, this fan wall sits just behind the drive bays and in front of the CPUs. The Rosewill chassis comes with a very nice steel framed fan mount for three 120mm fans as a fan wall. Unfortunately, these fans are cheap and lack good air flow. The easiest route to take would be to just replace the three 120mm fans with some higher quality higher flowing fans. Of course, that is not what I did. I did upgrade the quality, but I also upped the size of the fans to 140mm. Three of these fans fit almost perfectly across the RSV-L4500 chassis. With a bit of CAD work, I had a fan mounting kit that worked incredibly well…
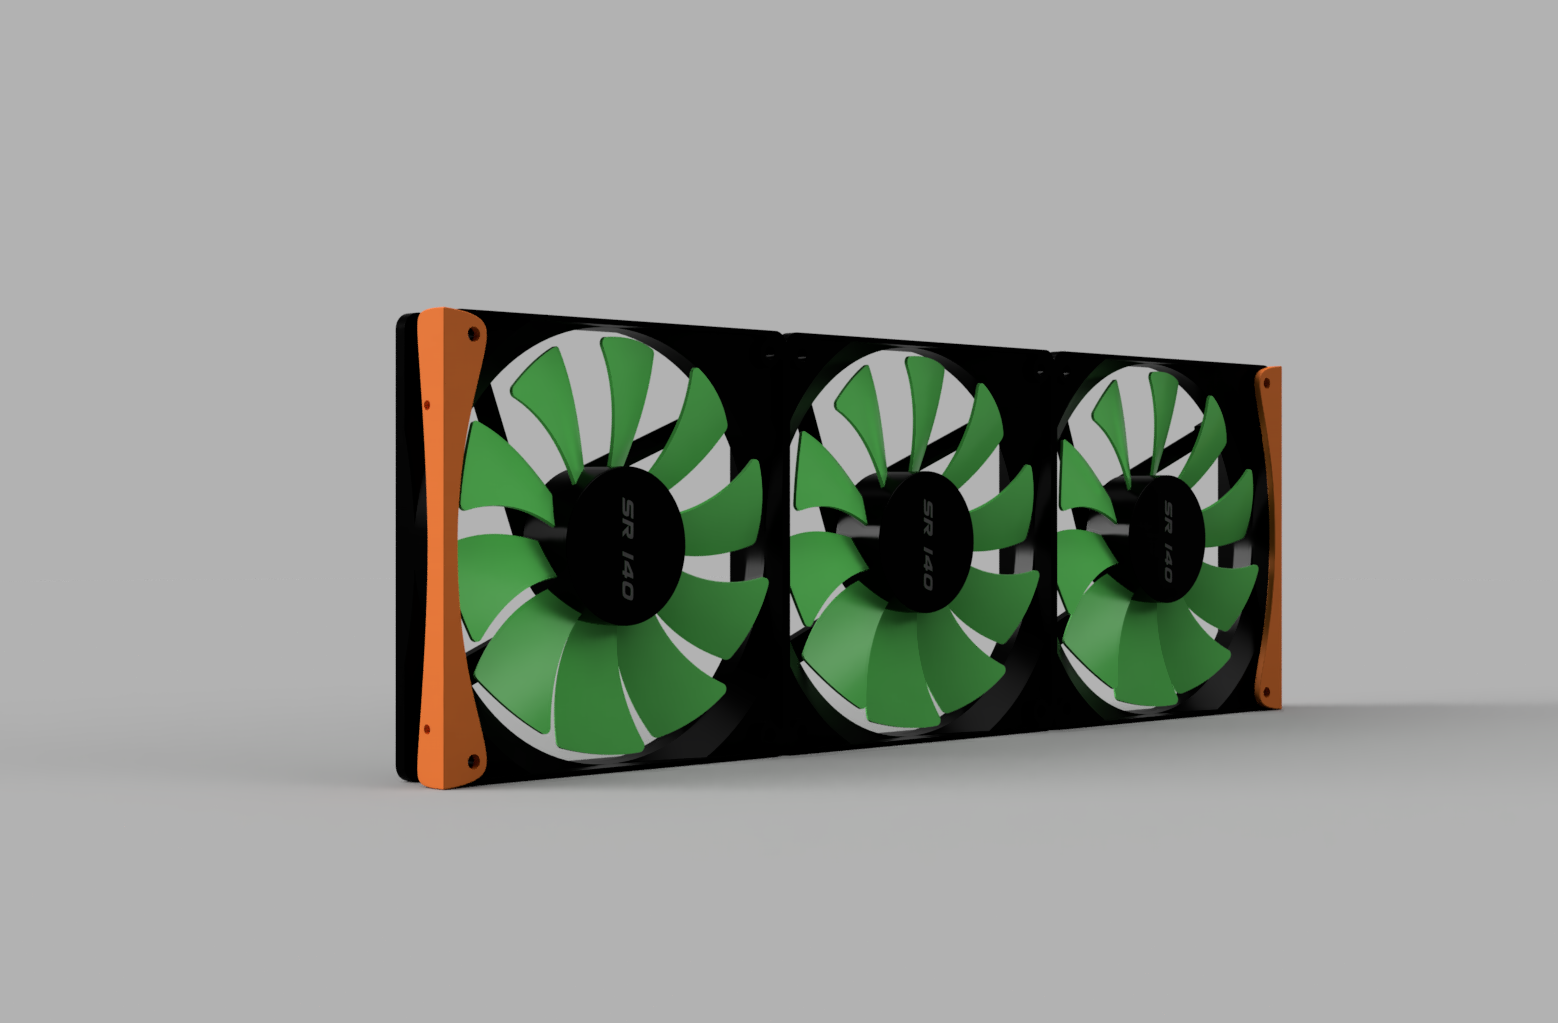
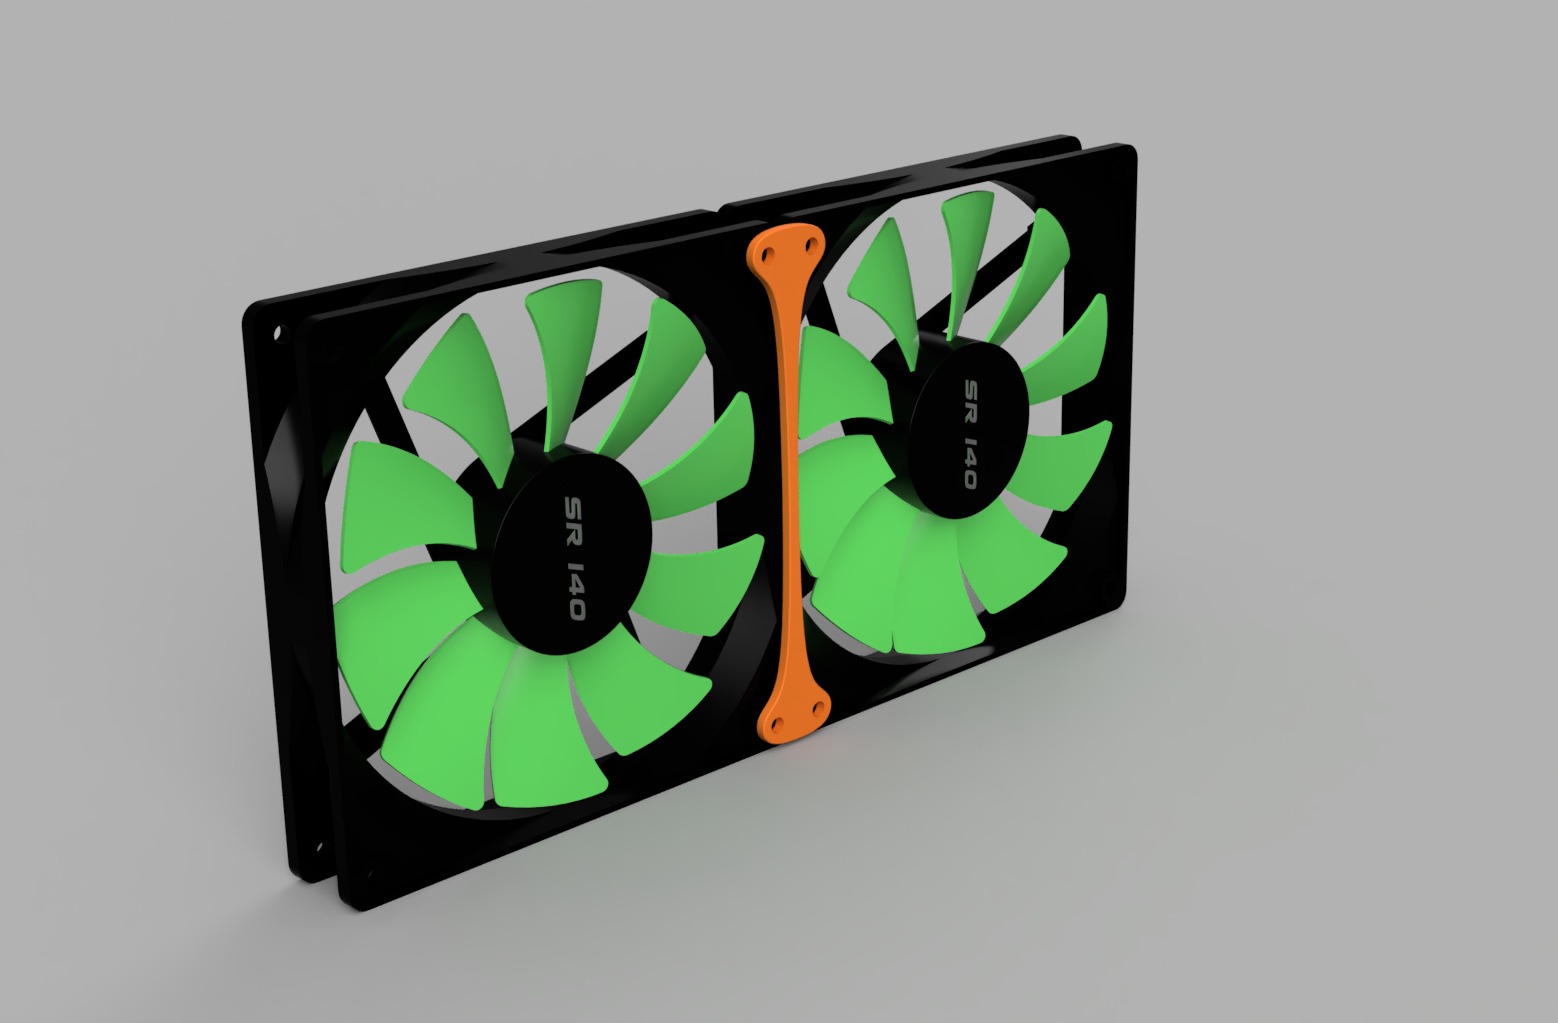
You can download the fan wall mount kit from thingiverse here.
Finally, the last custom component is really simple, but ended up saving time and money on the project. A simple 2.5″ to 3.5″ hard drive adapter. The hard drives came out of the old server and I simply re-purposed them for use in this server, so I was stuck with their size.
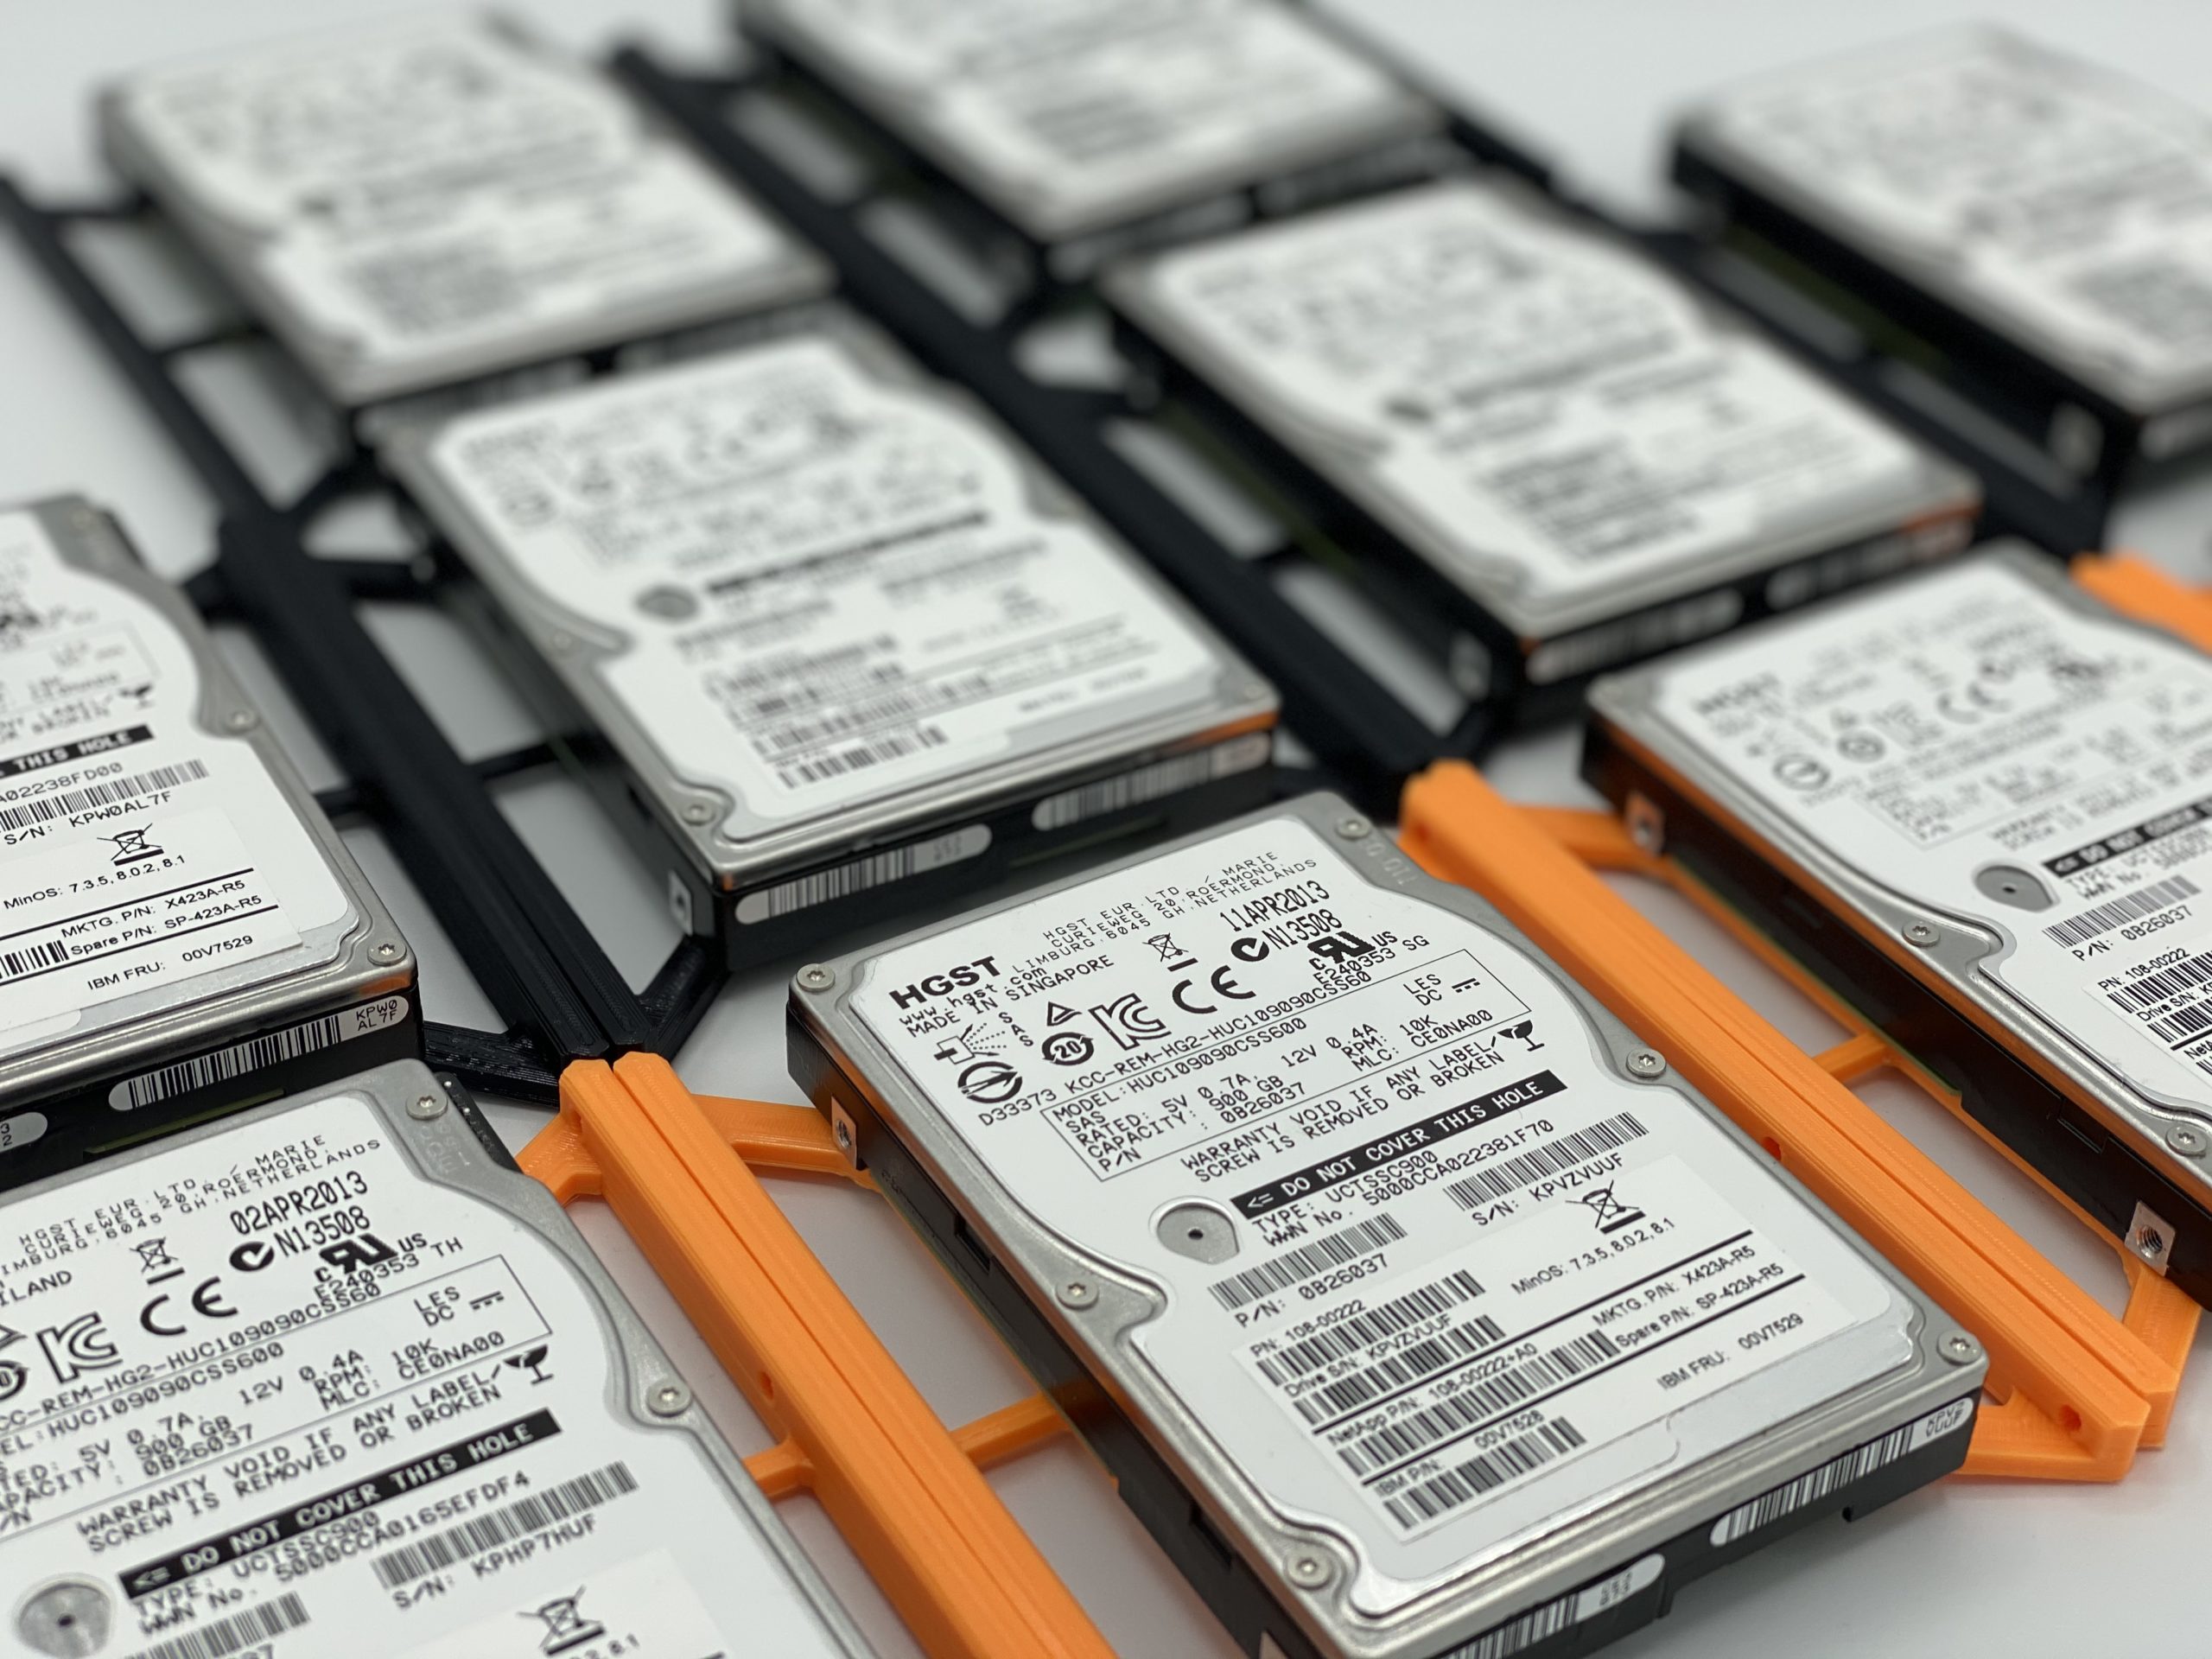
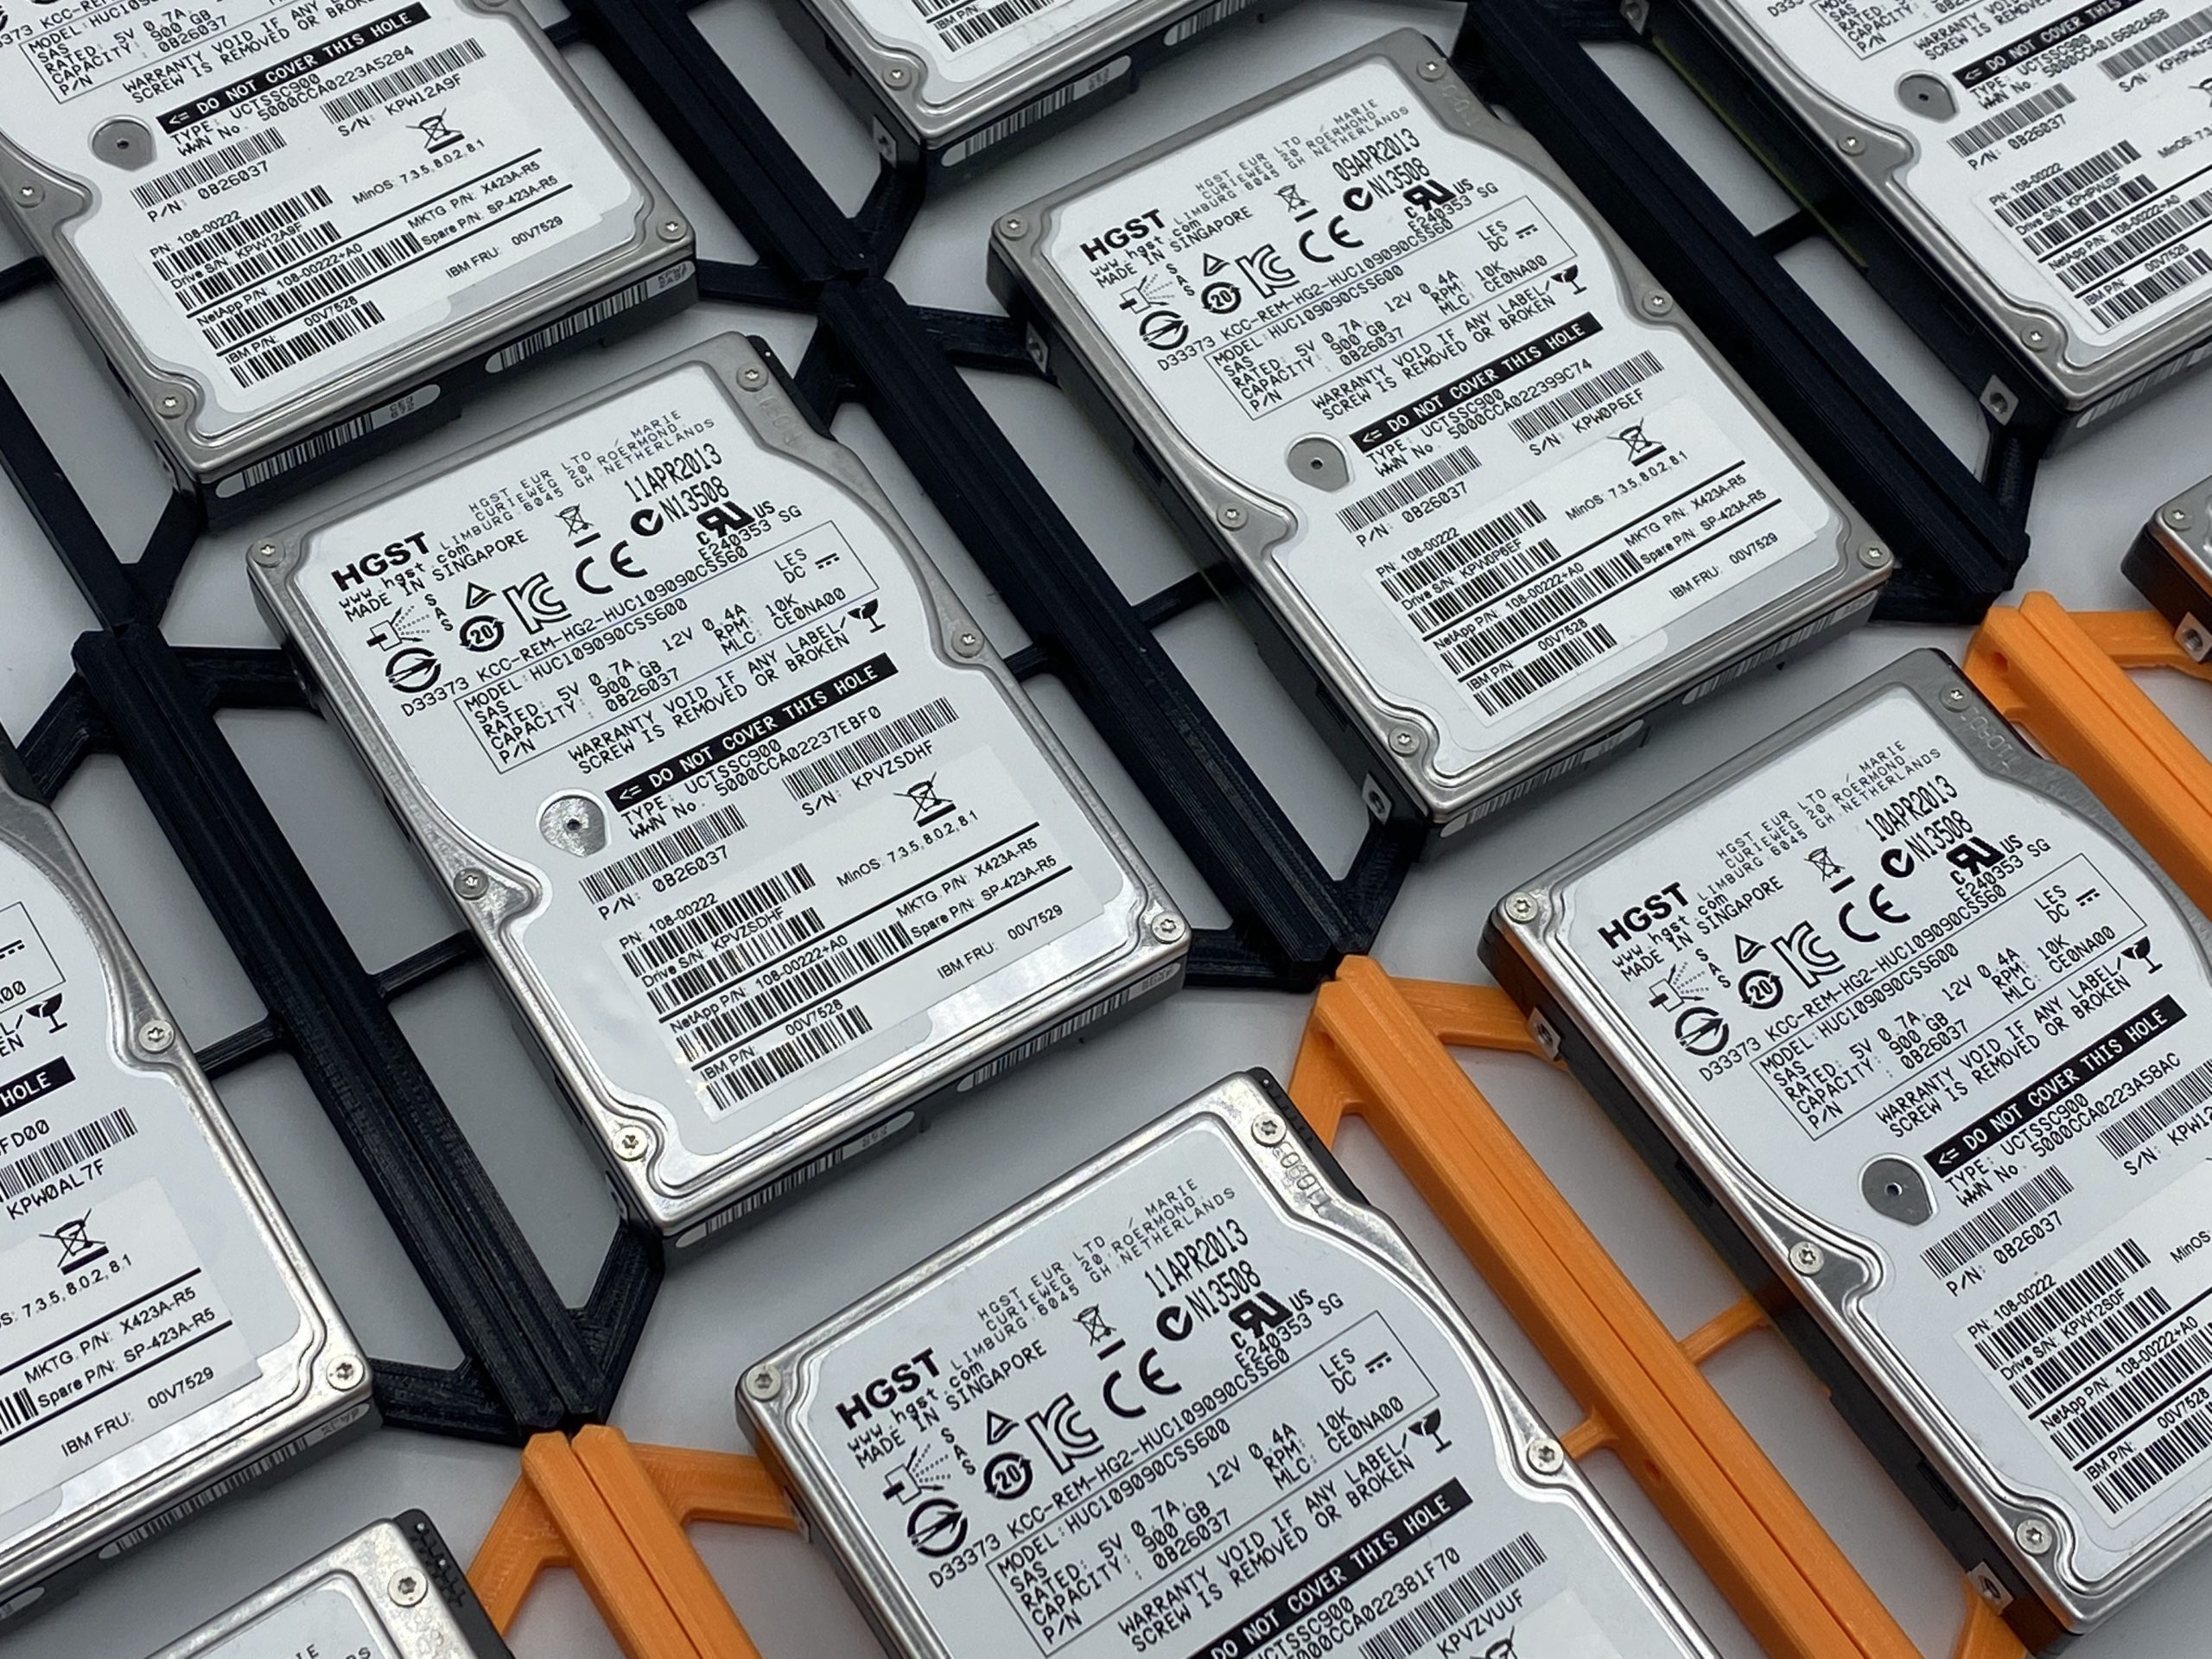

This design can also be downloaded from thingiverse here.
The Final Product
What we were left with is a super silent build with all the same horsepower!